Creating a Custom Ubuntu Build
Before starting this section, ensure that you have a fresh installation of Ubuntu 22.10 installed per the instructions from the last section.
Install Minimal Tools
In this section, we will connect to the Internet, update the software package repository, and install the tools needed to create a custom Ubuntu installation image.
-
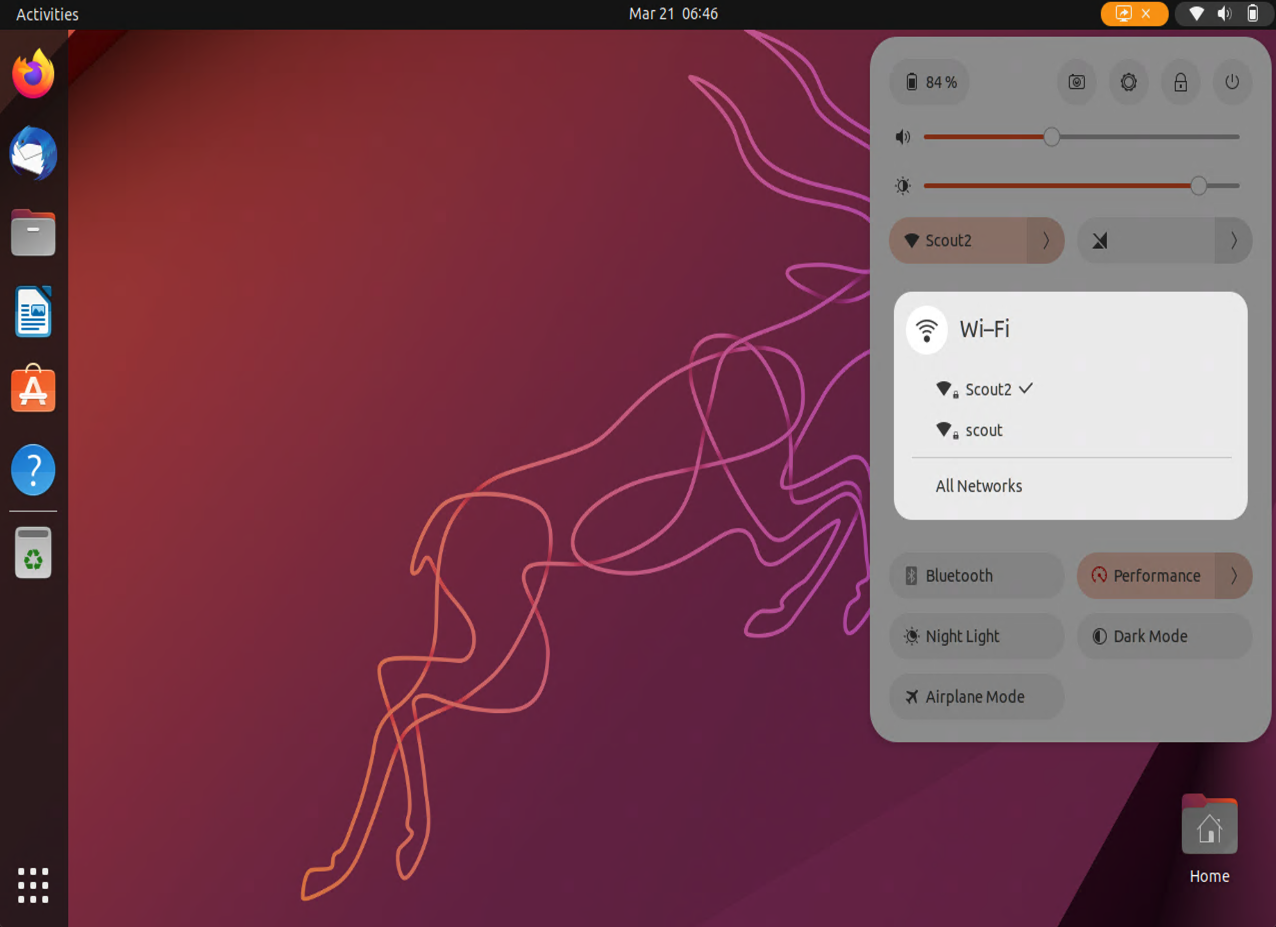
Click on the upper right panel of the screen and connect to your wi-fi network.
-
Click on the menu icon in the bottom left of the screen and search for
terminal. Then, click on the terminal icon.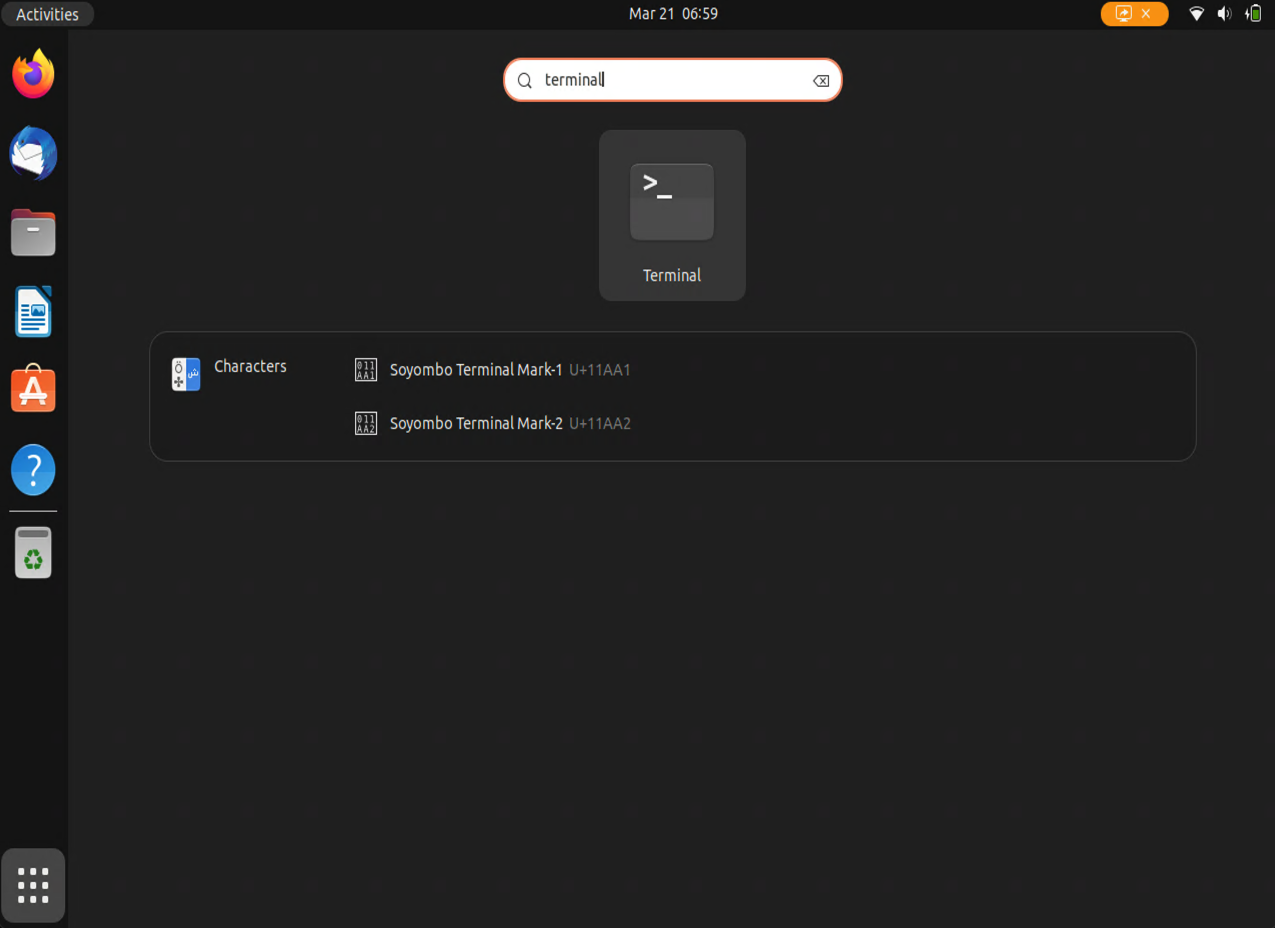
-
Download the EmComm Tools Community installer by running the following command in the terminal:
wget https://github.com/thetechprepper/emcomm-tools-os-community/releases/download/20240316r1/emcomm-tools-os-community-20240316r1.tar.gz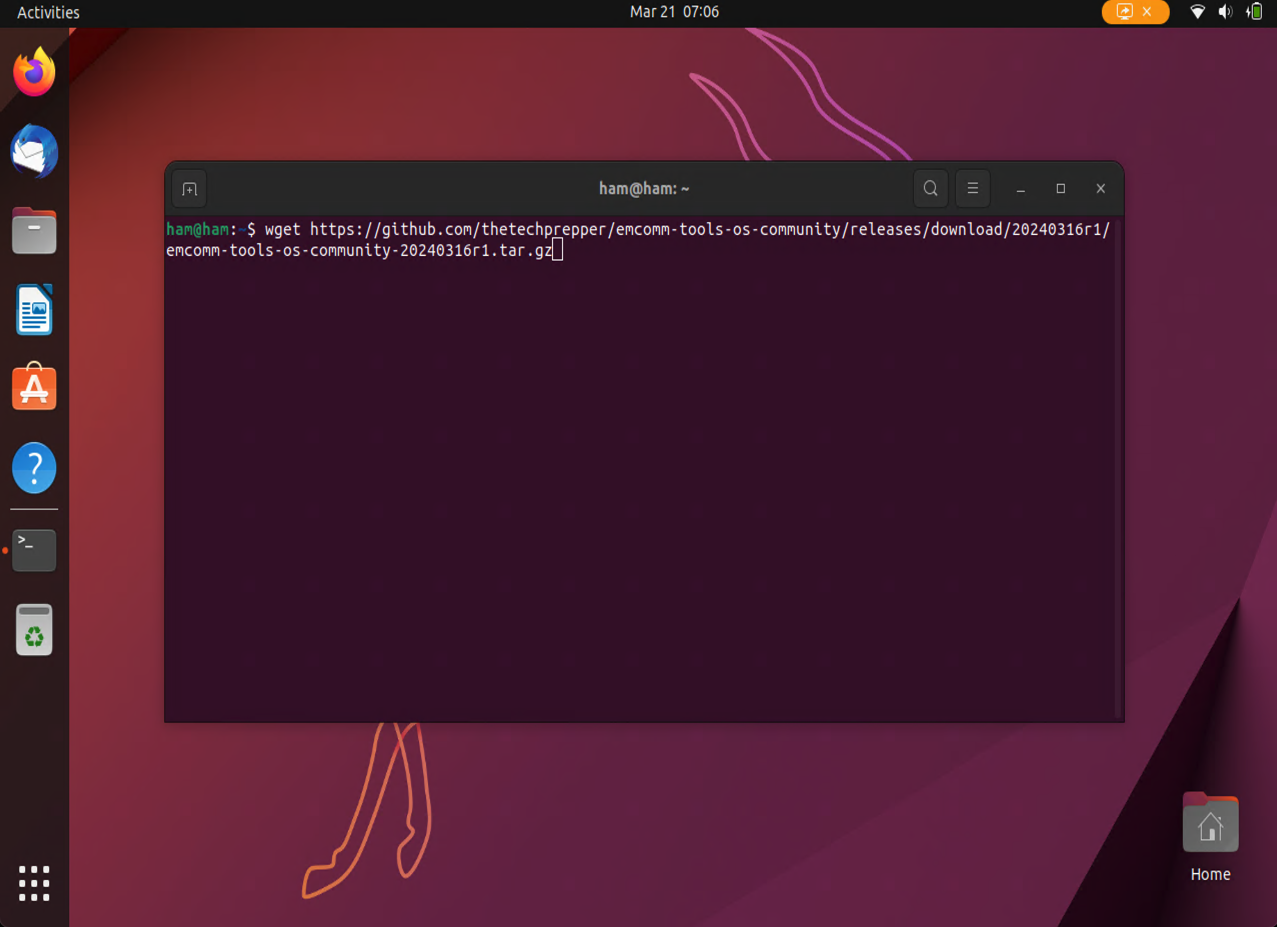
-
Unpack the installer.
tar -xzf emcomm-tools-os-community-20240316r1.tar.gz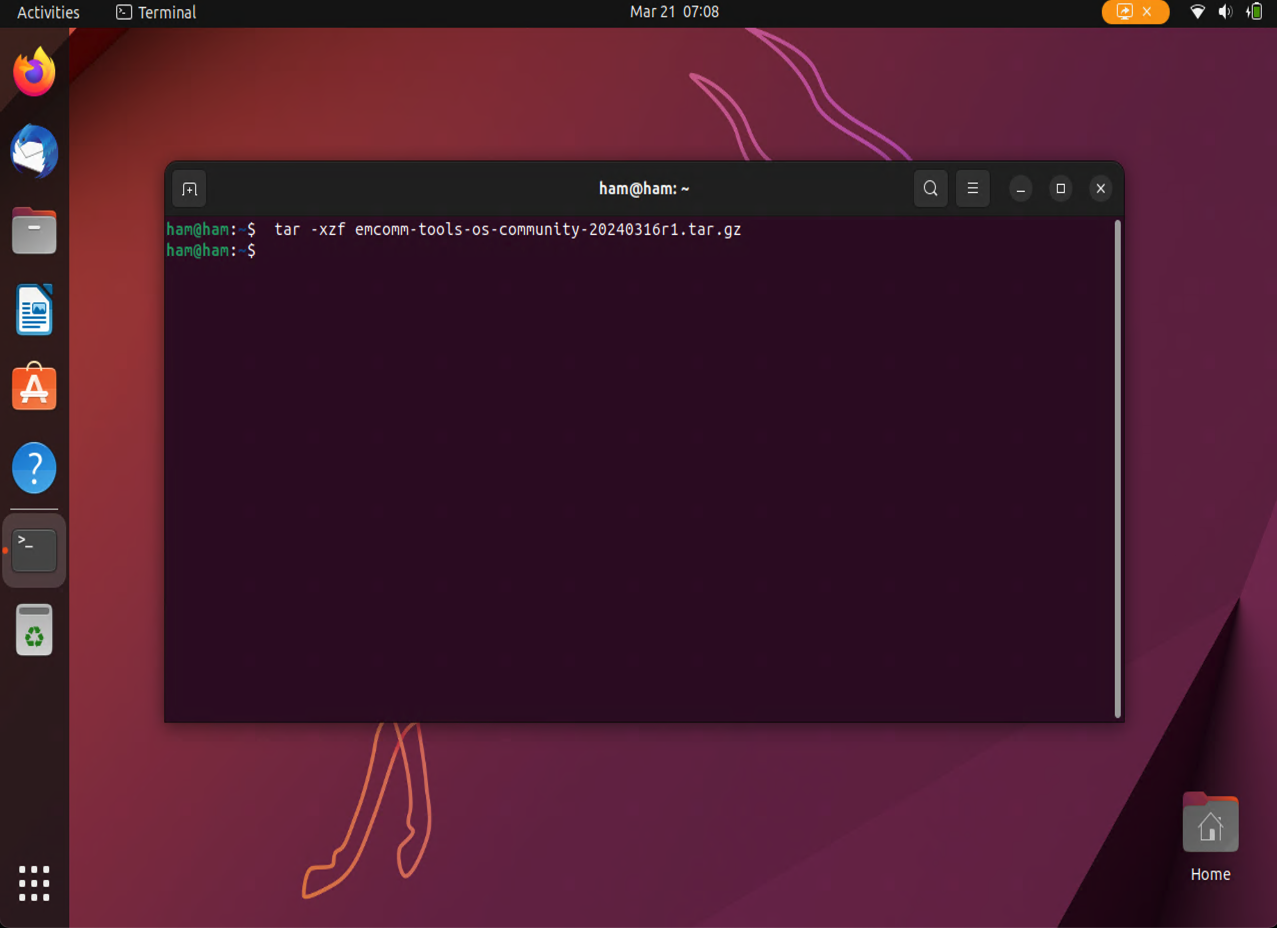
-
Change into the installer directory.
cd emcomm-tools-os-community/scripts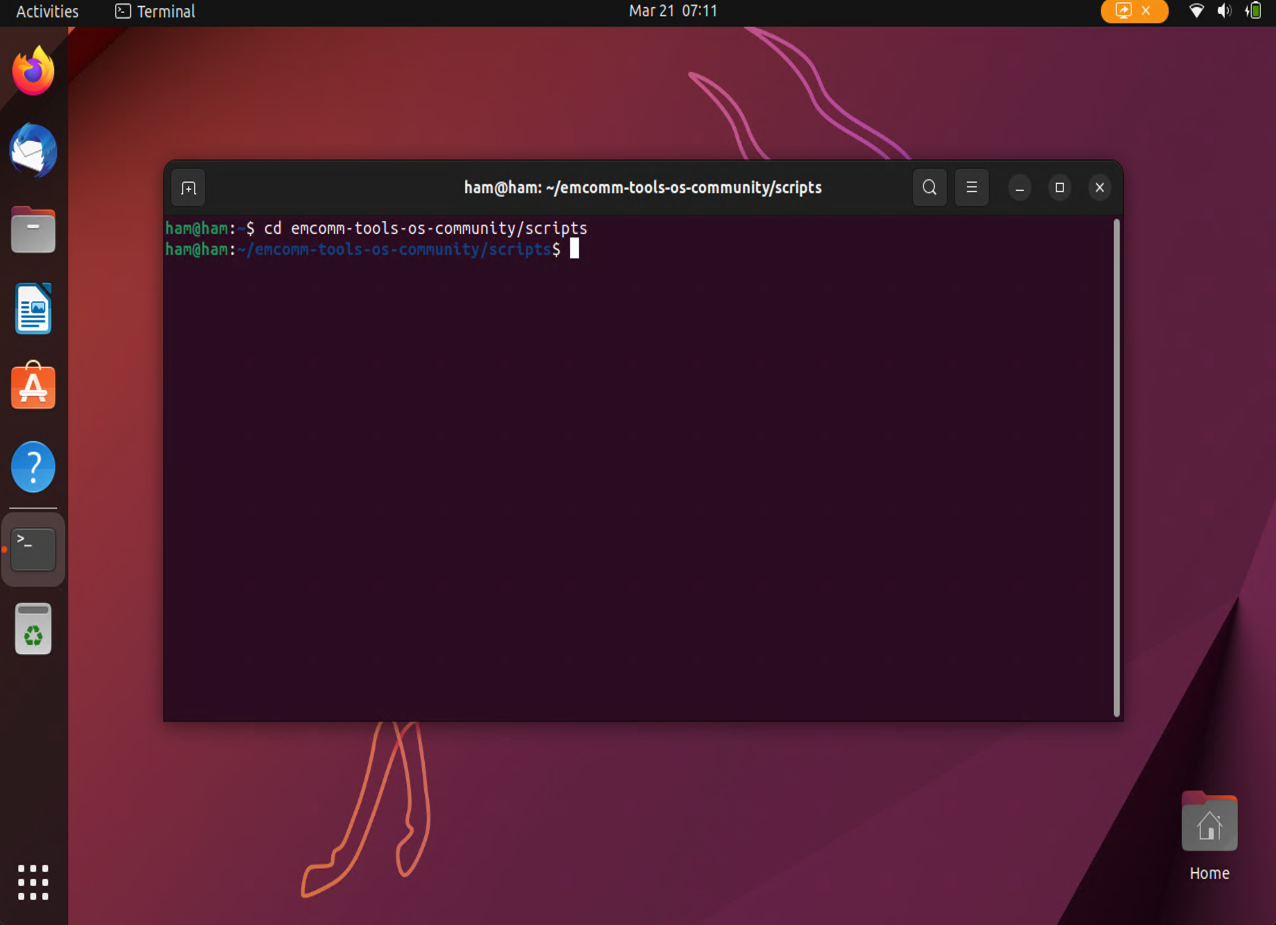
-
Run the
install-ubuntu-image-tools-only.shscript as the super user (i.e. the root user). Enter your password when prompted. The default used by this project isham.sudo ./install-ubuntu-image-tools-only.sh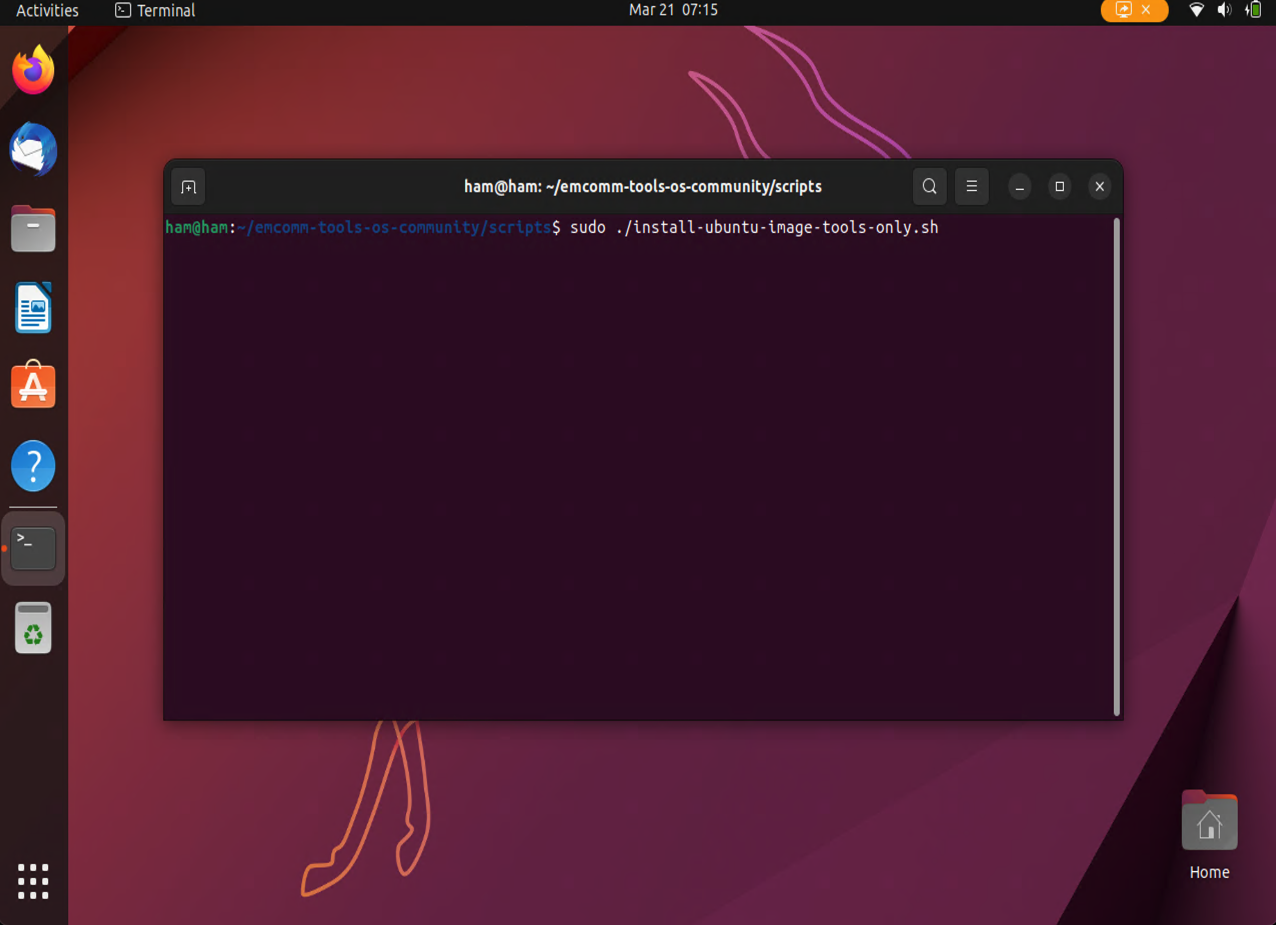
Create a Custom Image with Cubic
-
Insert your Ventoy USB drive, then double-click on the USB drive icon (left panel). Lastly, drag and drop
ubuntu-22.10-desktop-amd64.isoto your desktop. This should take several minutes. There will be a progress indicator that looks like a pie at the top of the file browser window.
-
Open the terminal and create a directory for our custom image project. Let’s name the directory:
emcomm-tools-os-community-20240316r1.mkdir emcomm-tools-os-community-20240316r1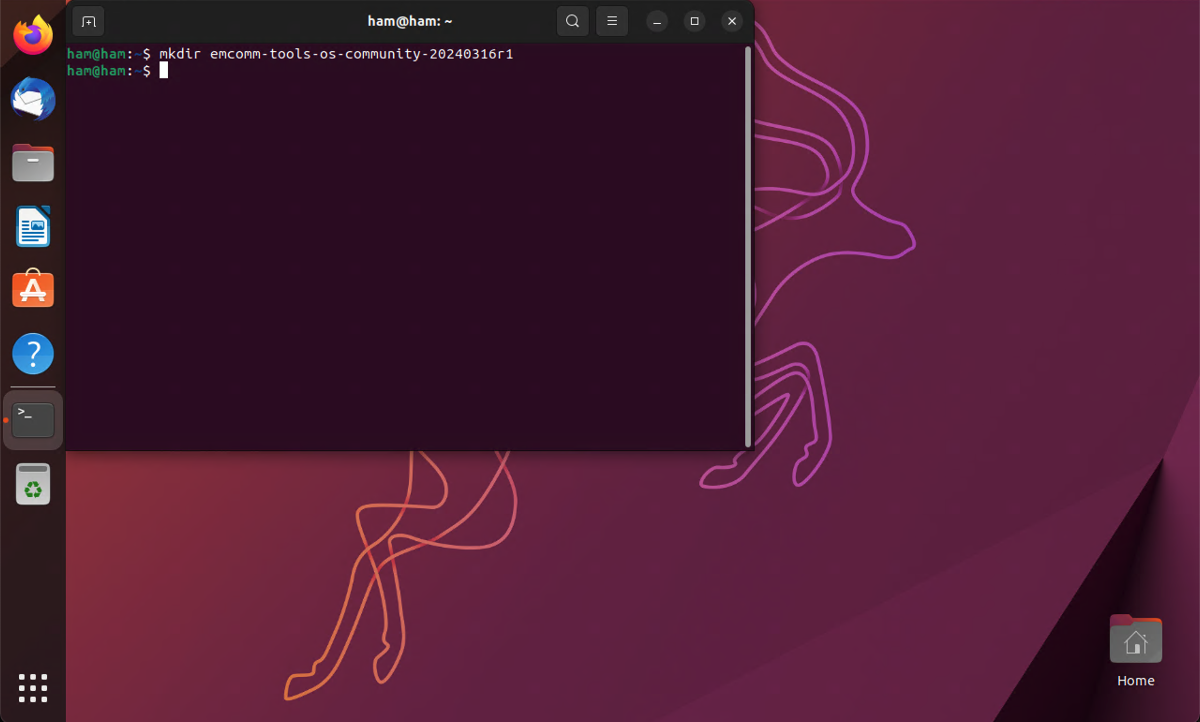
-
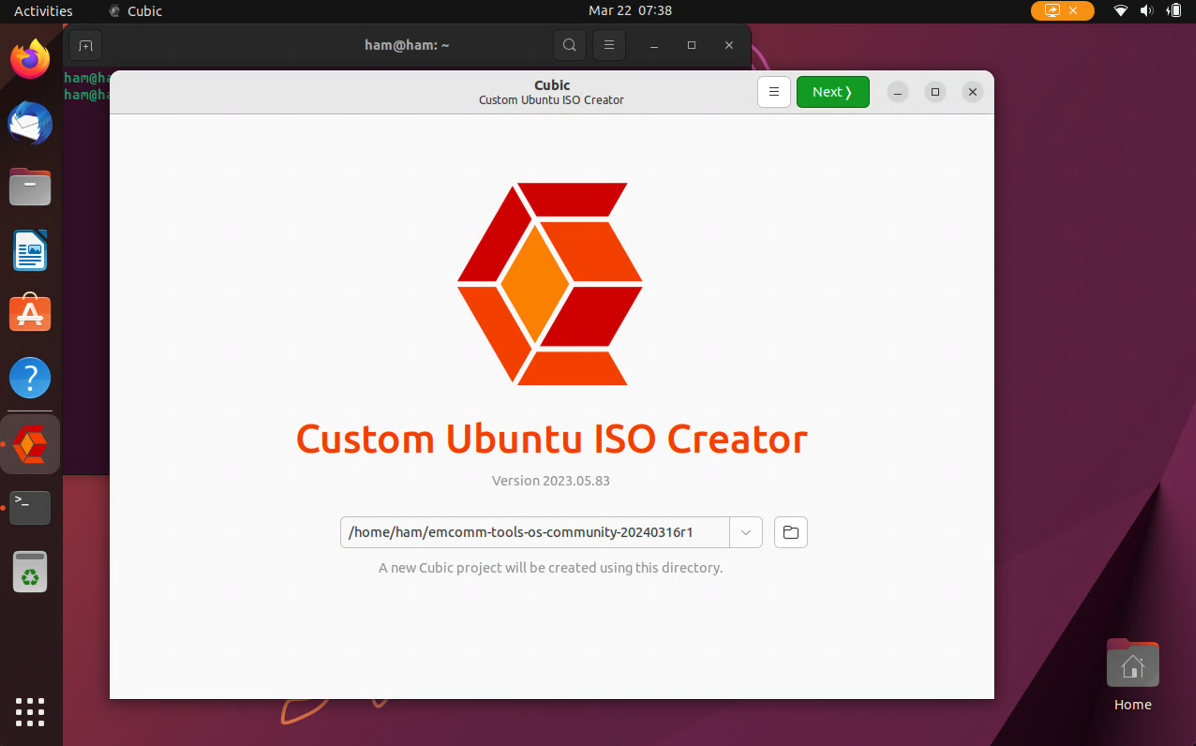
Click on the menu icon in the bottom left of the screen and search for
cubic. Then, click on the Cubic icon.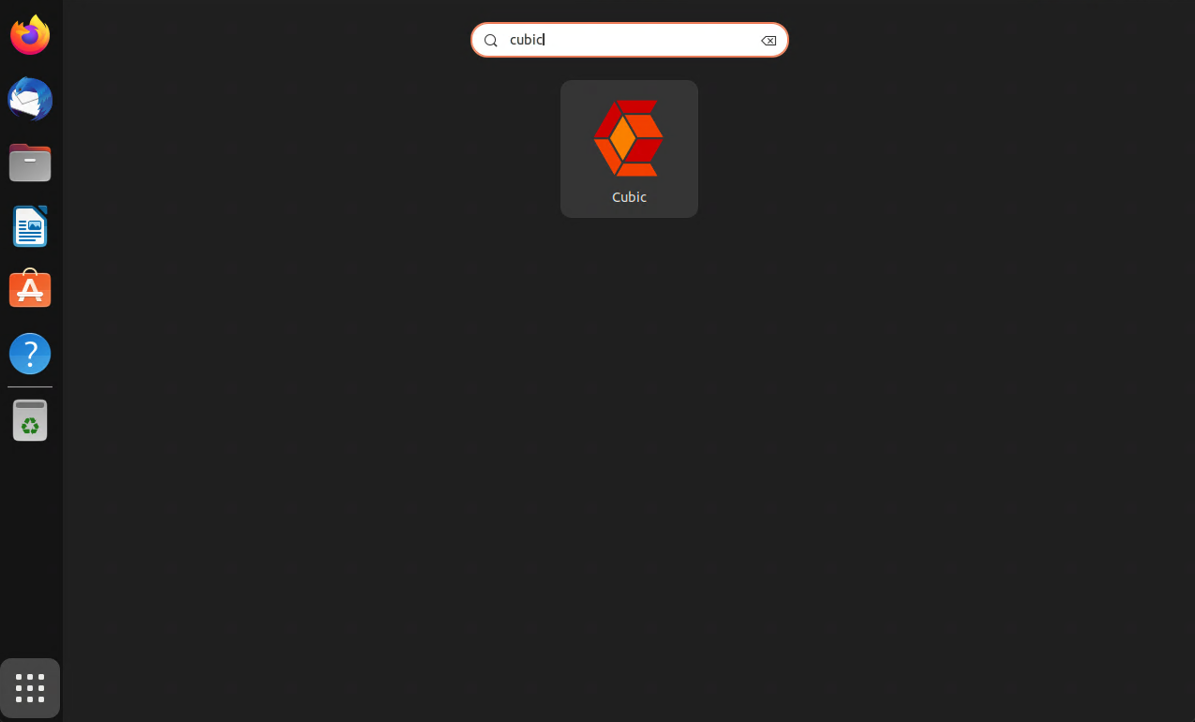
-
Click the folder icon and select the workspace directory that we just created. Then, click the Next button to continue.
-
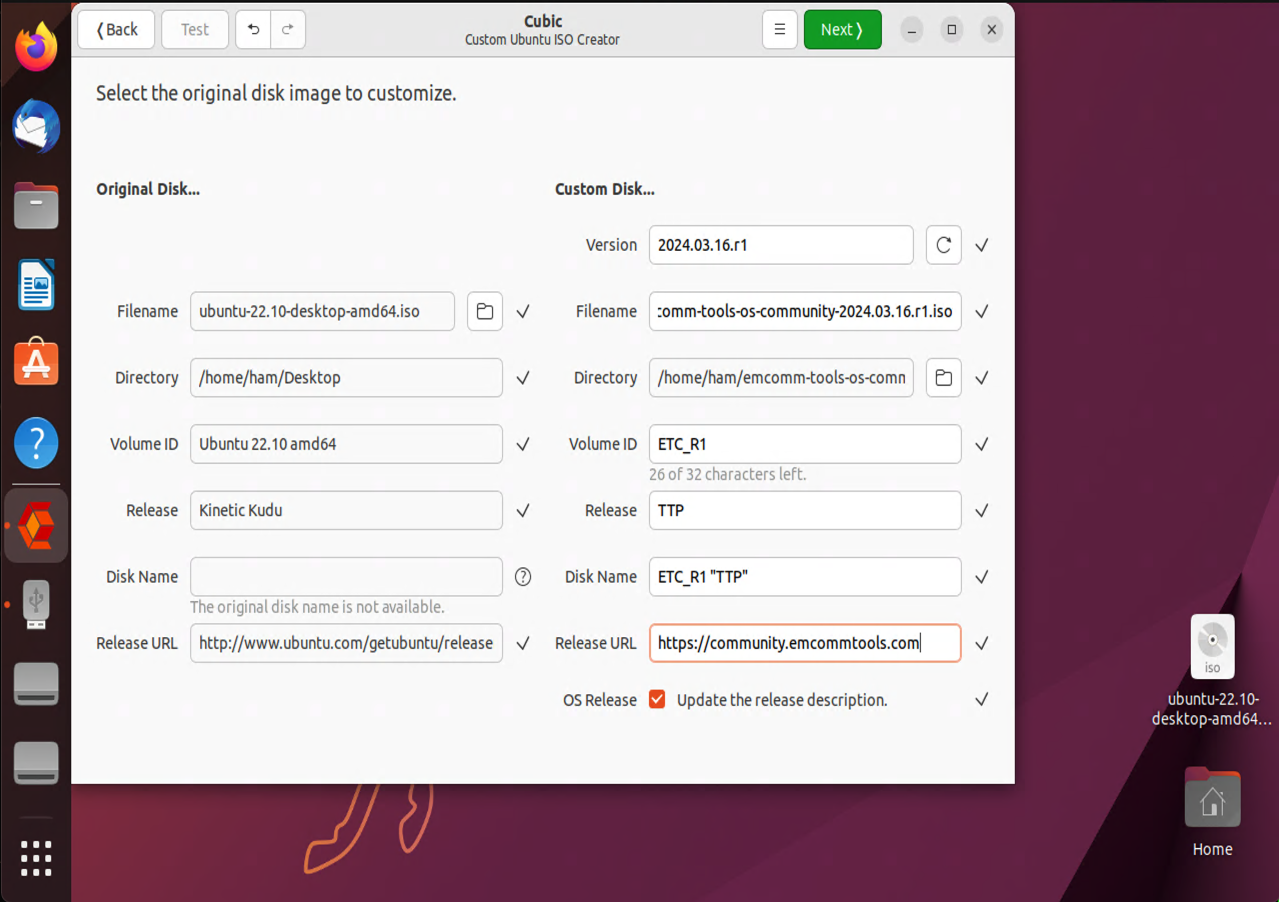
Under the Original Disk… section, click the folder icon next to Filename. Then, navigate to the Desktop and select the ubuntu-22.10-desktop-amd64.iso. This will populate most fields with default values.
-
Under the Custom Disk… section, update the following field with these values:
- Version:
2024.03.16.r1 - Filename:
emcomm-tools-os-community-2024.03.16.r1.iso - Volume ID:
ETC_R1 - Release:
TTP - Release URL:
https://community.emcommtools.com
- Version:
-
Click the Next button to continue. Wait for the Extracting the original disk… screen to complete. Note: This may take a few minutes.
-
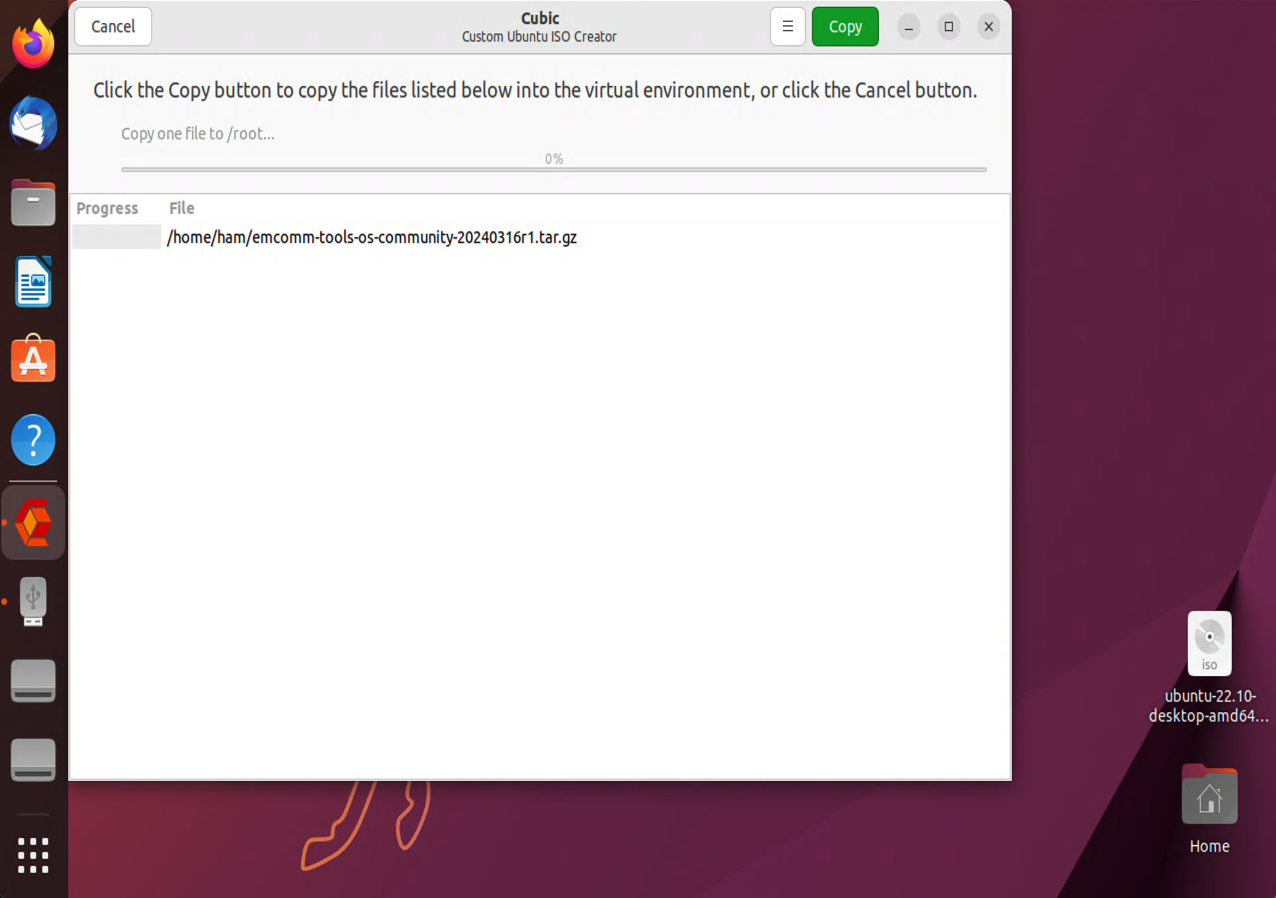
From the Customization… screen, click the copy icon to the top-right. Select the
emcomm-tools-os-community-20240316r1.tar.gzthat we downloaded from the previous section. -
Then, click the green Copy button to move this installer file to this virtual workspace.
 .
. -
Run the following command to extract the installer.
tar -xzf emcomm-tools-os-community-20240316r1.tar.gz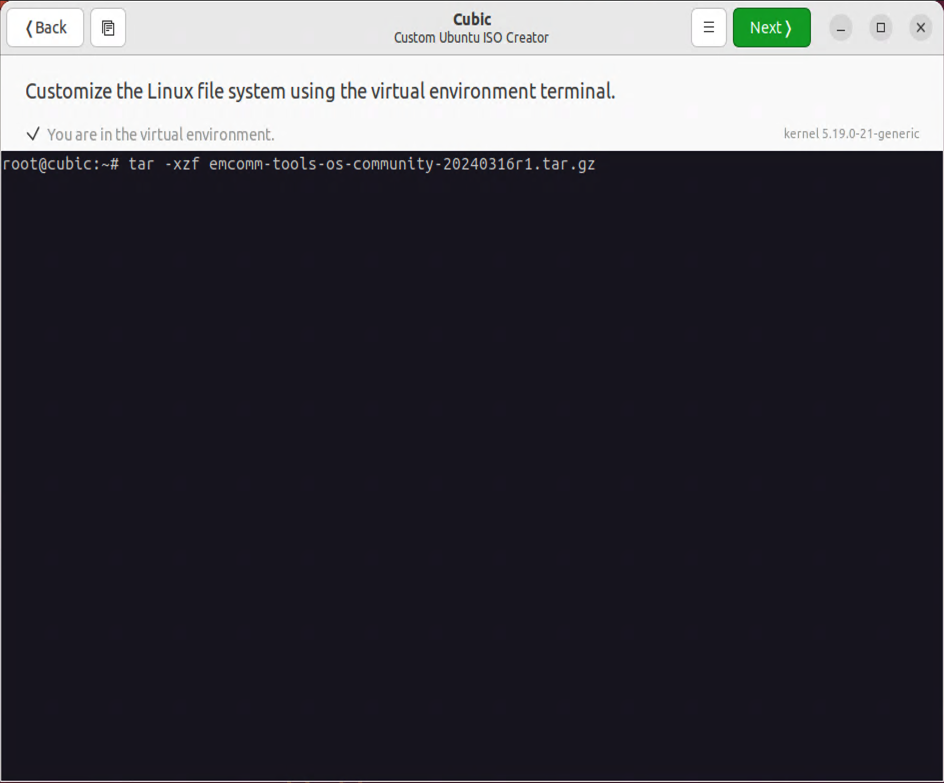
-
Change into the installer directory.
cd emcomm-tools-os-community/scripts -
Run the installer.
./install.sh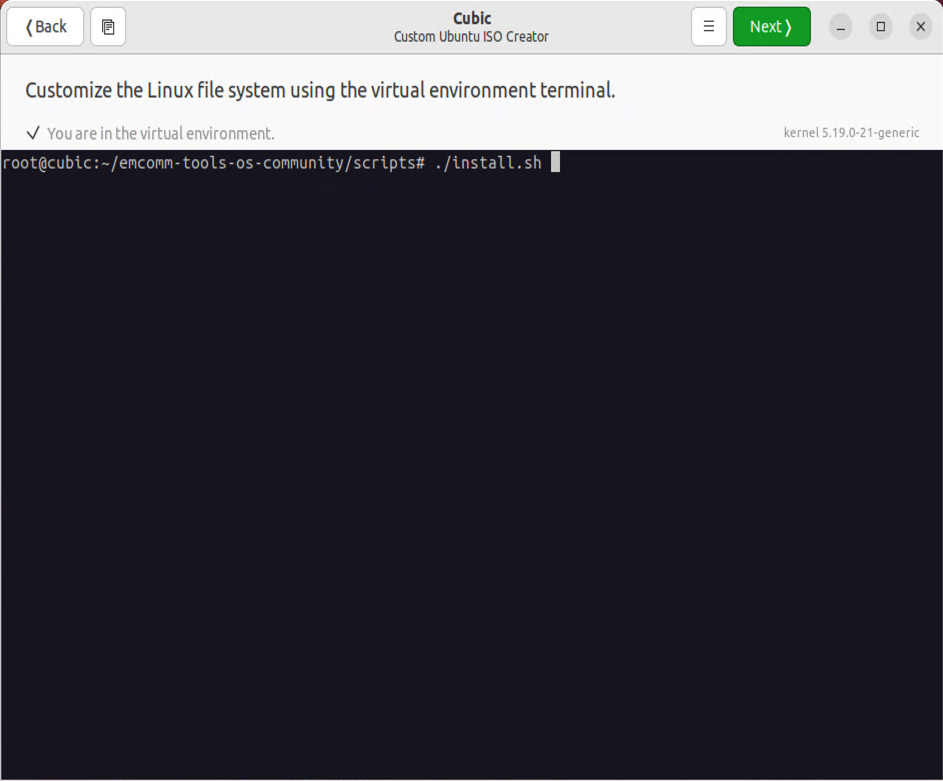
-
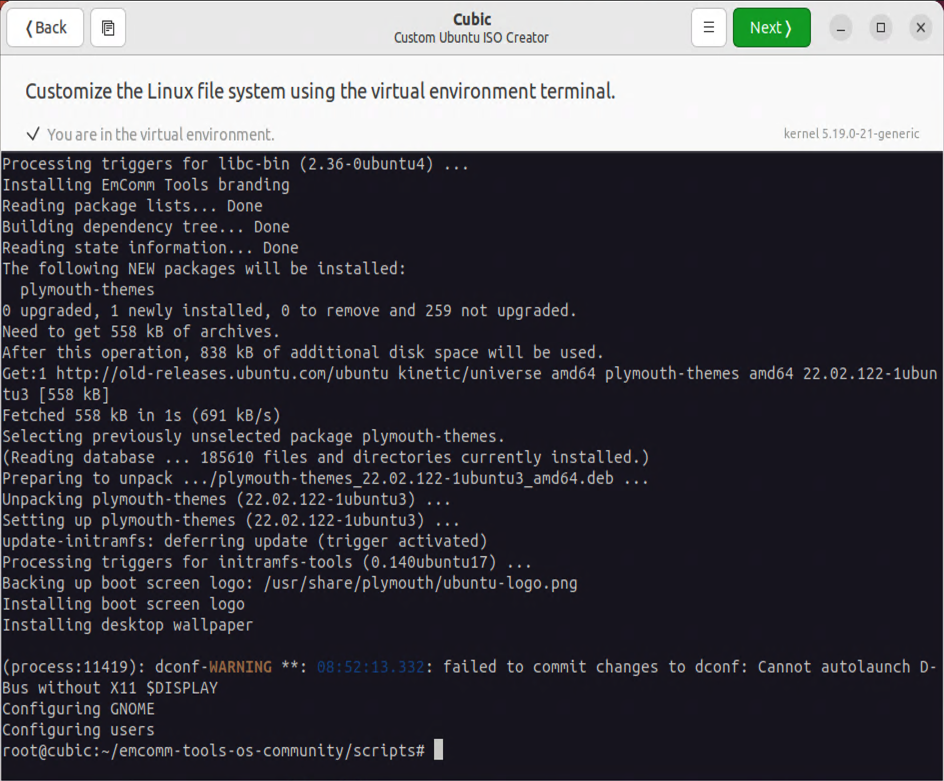
The installer will take upwards of 30 minutes to complete depending on your hardware. Click the Next button to continue.
-
If you are running a Panasonic, install the display brightness fix.
./fix-panasonic-brightness.sh -
When the script finishes running, click the Next button to continue.
-
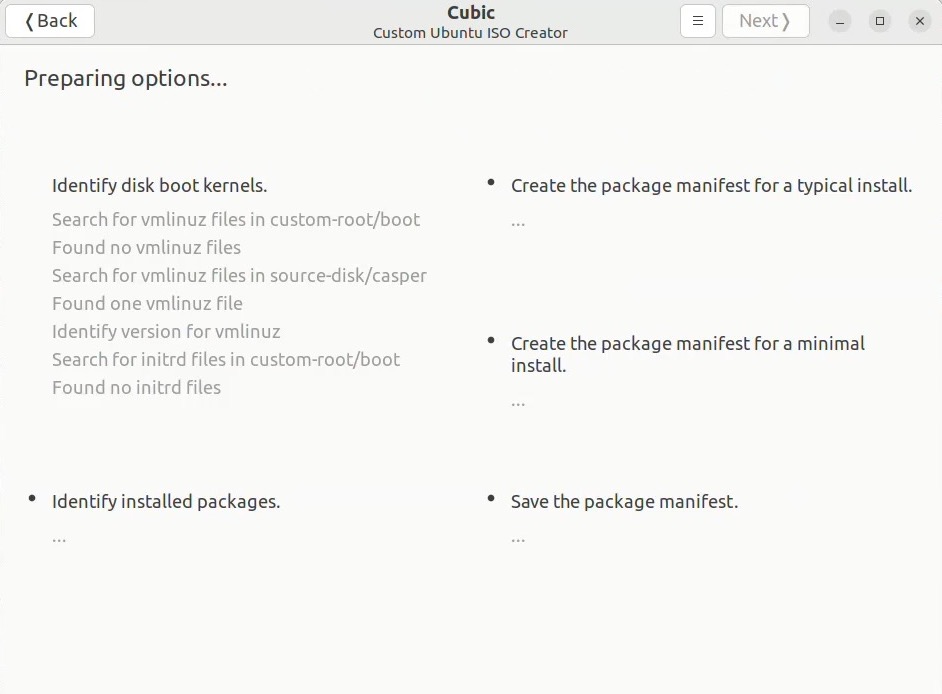
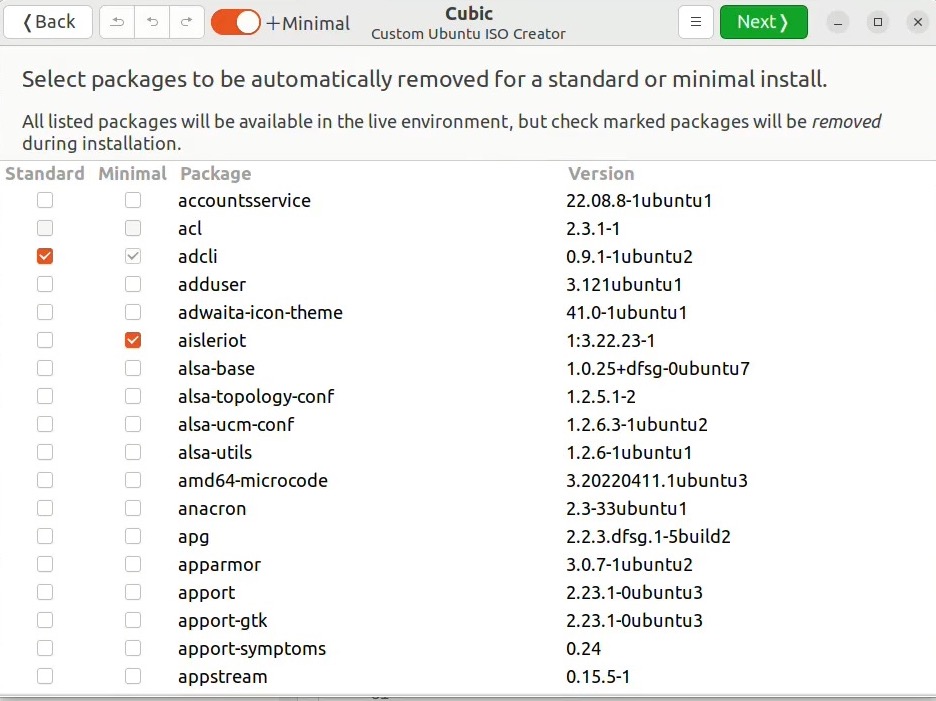
The Preparing Options… screen will run for a few minutes, then it will switch to a screen that reads, “Select packages to be automatically removed for a standard or minimal install.” Do not change anything here. Click the Next button to continue.
-
Click the Next button on the screen that displays the kernel version.
-
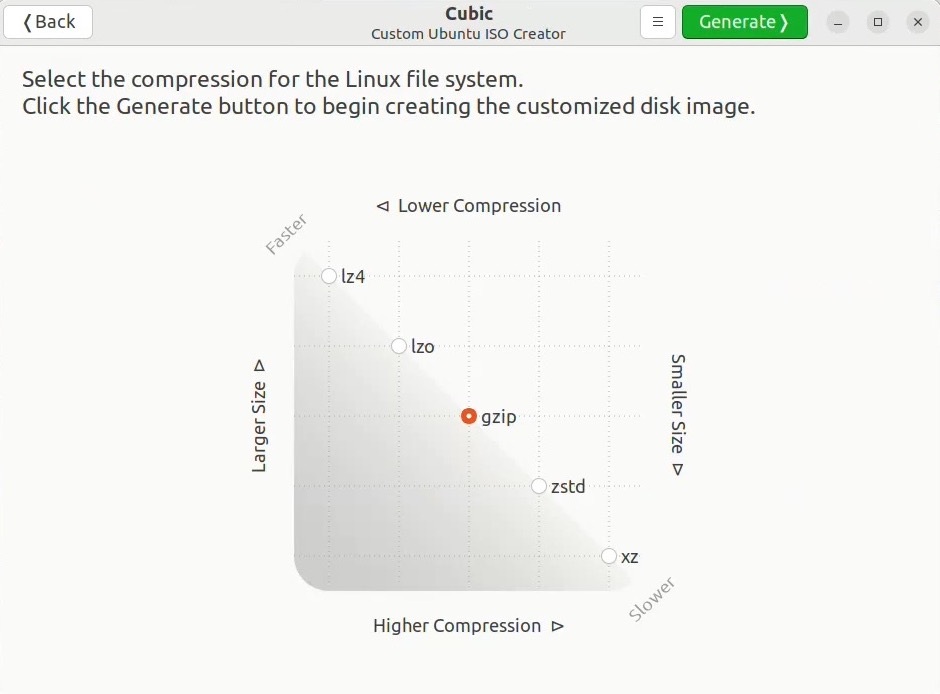
Click the Generate button on the compression options screen. This process will take 5 minutes to over an hour depending on your machine.
-
When Cubic completes, it will present a screen with the image details. Your first build of EmComm Tools Community will now be available in your home directory under:
emcomm-tools-os-community-20240316r1/emcomm-tools-os-community-2024.03.16.r1.iso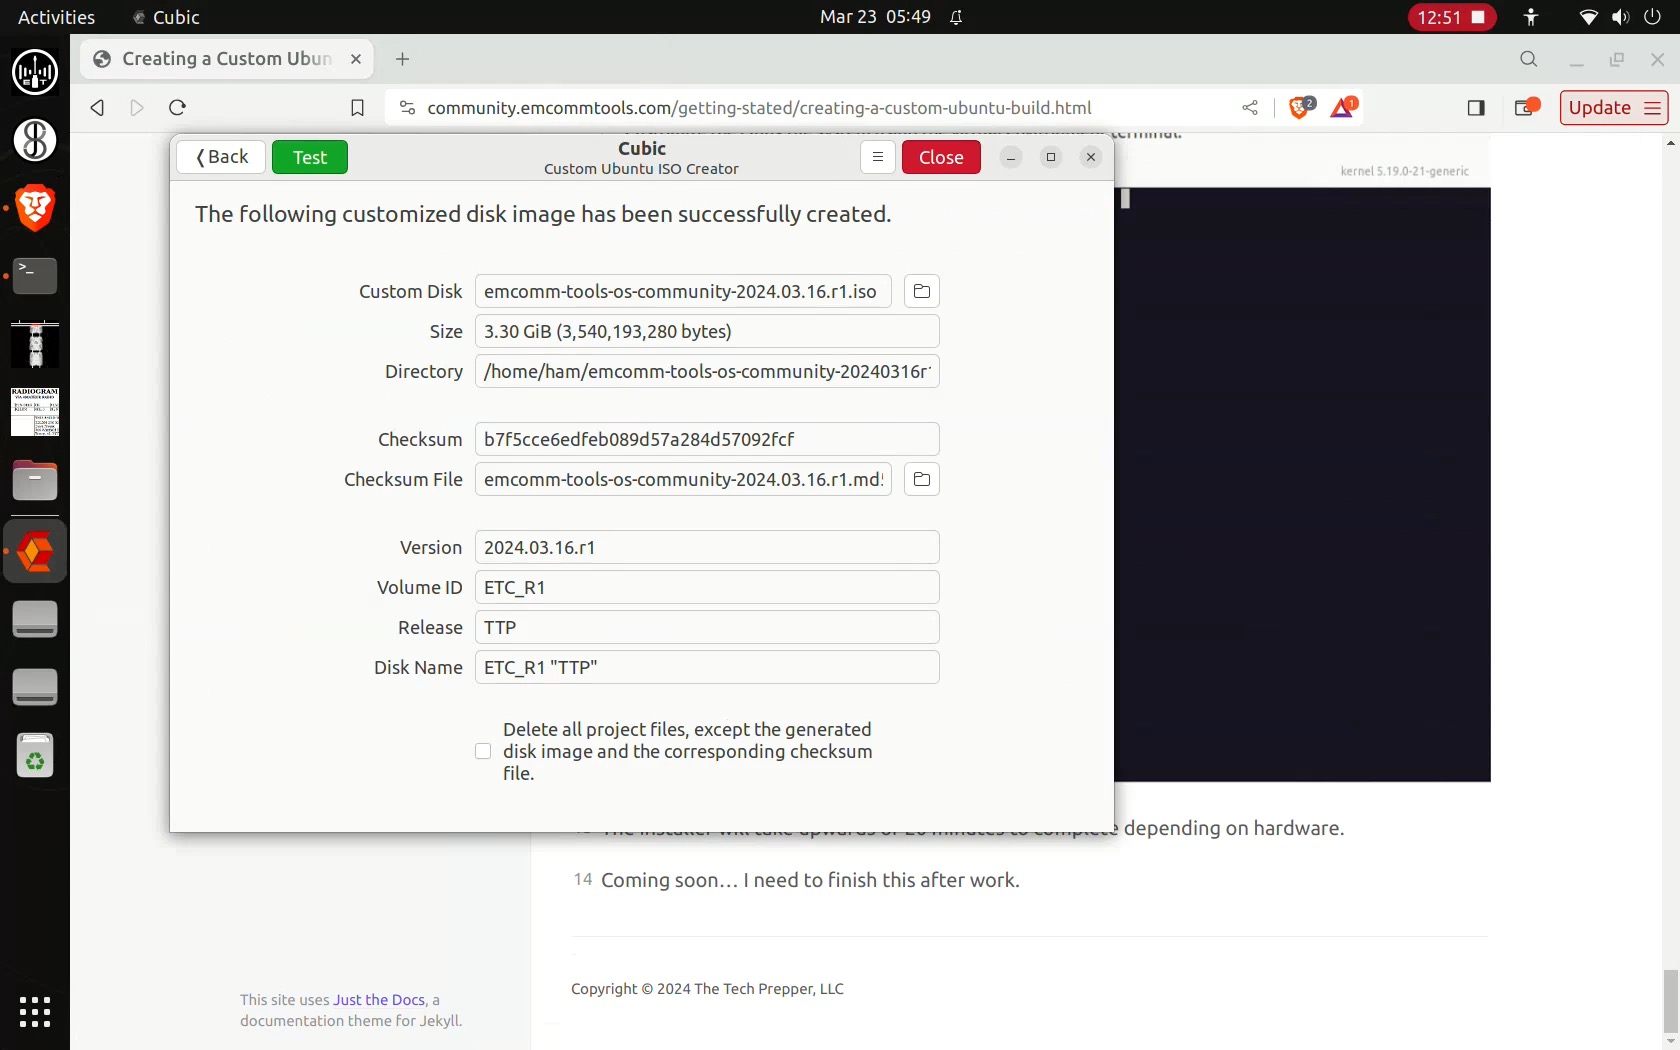
-
Copy
emcomm-tools-os-community-20240316r1/emcomm-tools-os-community-2024.03.16.r1.isoto your Ventoy drive. -
Once the the ISO image has been copied to your Ventoy drive, right-click the “Ventoy” disk and eject it.
-
At this point, you can boot off your Ventoy USB drive and perform an installation of EmComm Tools.
Member Content
- Companion Video: EmComm Tools Community: Episode 4 - Creating a Custom Ubuntu Build )