Installing Ubuntu
These instructions assume that you wish to install Ubuntu as the only operating system. This will delete all operating systems and data on your computer. The topic of how to dual boot Windows and Linux is out of scope for this documentation.
Boot off your USB drive
These instructions assume that you are using one of the reference computers.
-
Insert your USB thumbdrive into your computer.
-
Turn on your computer and press the
[DEL]key rapidly while the computer is booting up. -
From the BIOS screen, navigate to the Boot menu using the arrow keys.
-
Navigate to the UEFI Priorities and press
[ENTER]. -
Navigate to Boot Option #1 and press
[ENTER]. Select your USB drive, then press[ENTER]. -
Press
[ESC]to exit this menu item. -
Navigate to Exit > Save Values and Reboot. Your computer will reboot and should boot off your Ventoy USB drive.
Perform an Ubuntu Installation.
-
When presented with the GRUB menu, ensure that *Try or Install Ubuntu is selected, then press
[ENTER].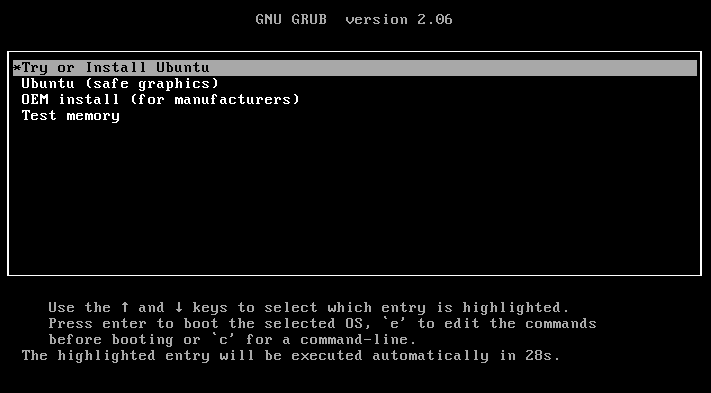
-
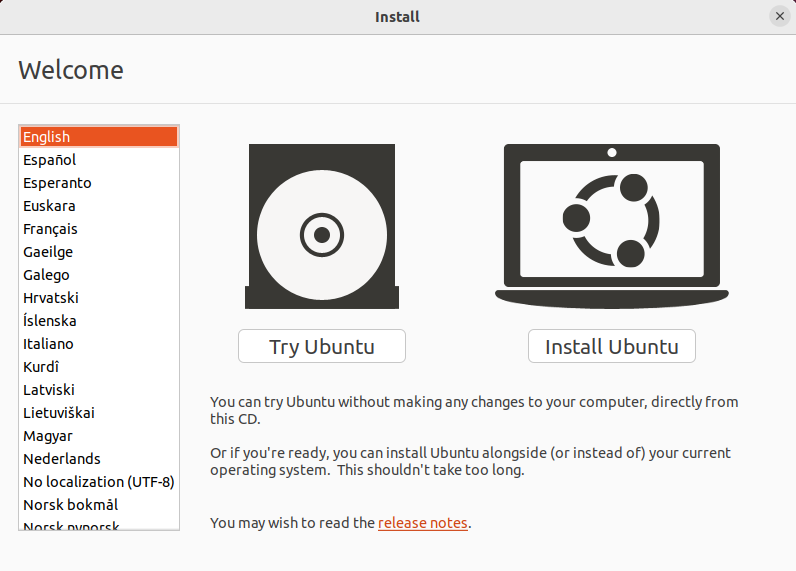
Click the Try Ubuntu button.
-
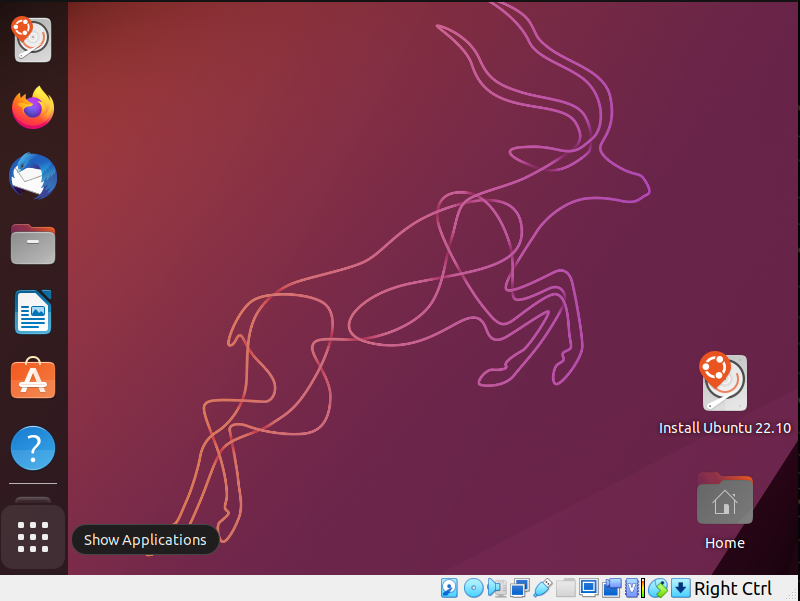
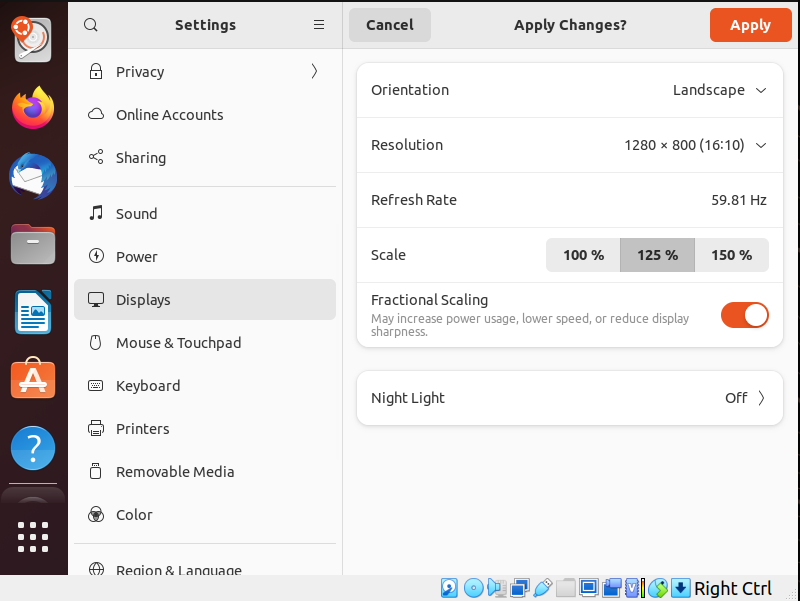
Click on the Menu on the bottom-left of the screen.
-
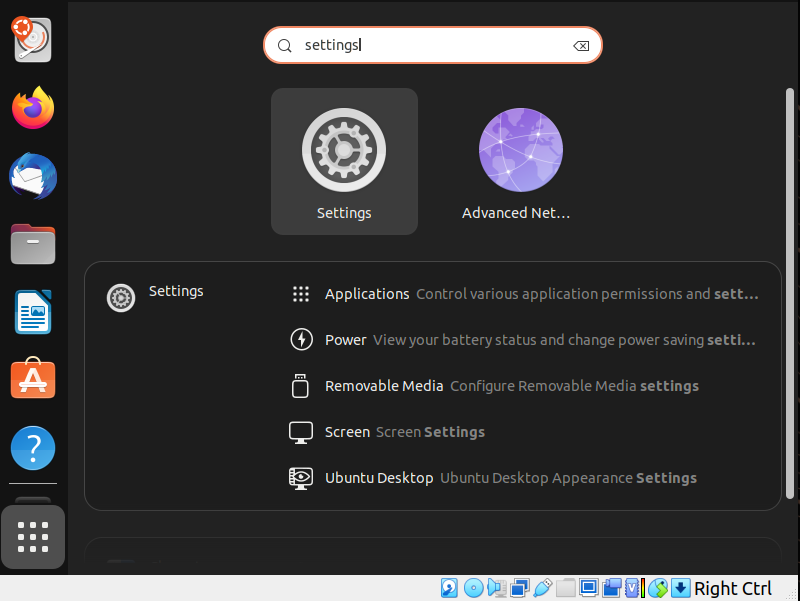
Type settings in the search bar and click the Settings icon.
-
Scroll down to Displays and change the display so that you have more space to interact with the desktop environment. A resolution of 1280 x 800 and fractional scaling at 125% is recommended.
-
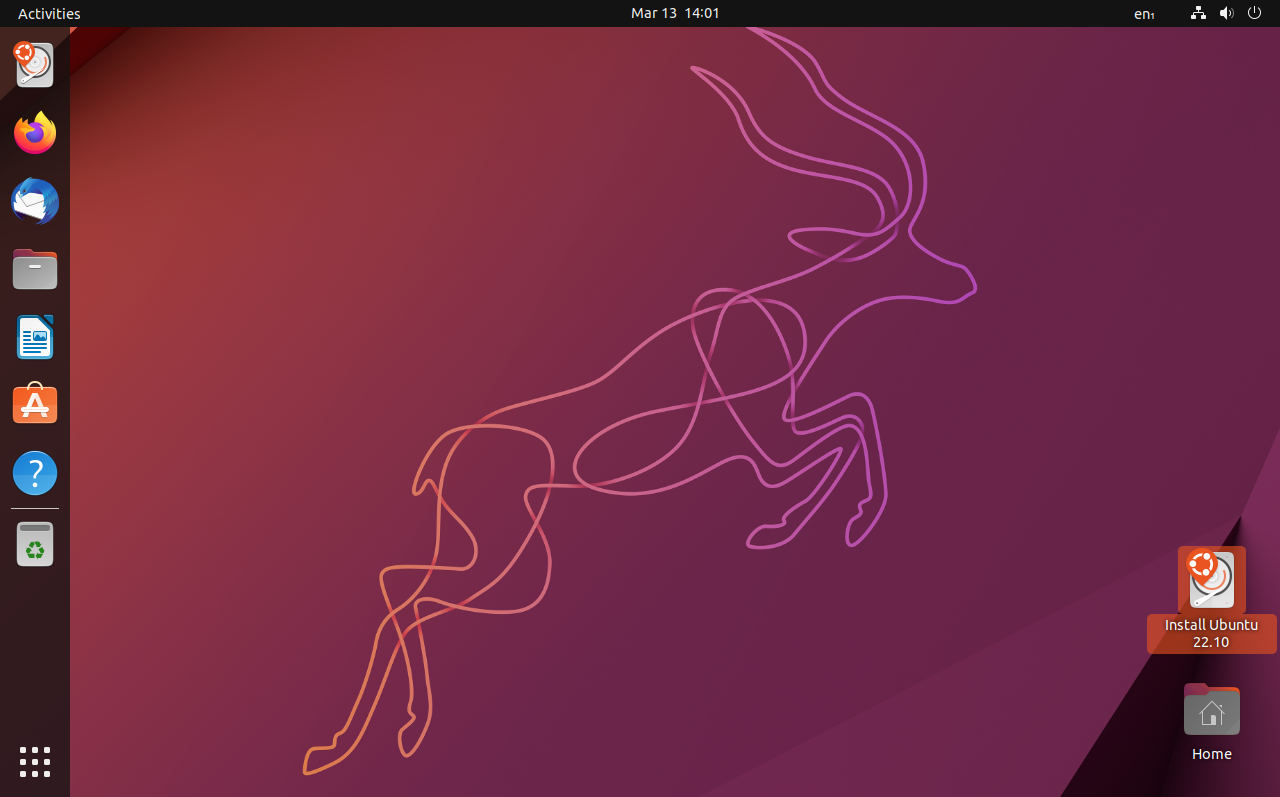
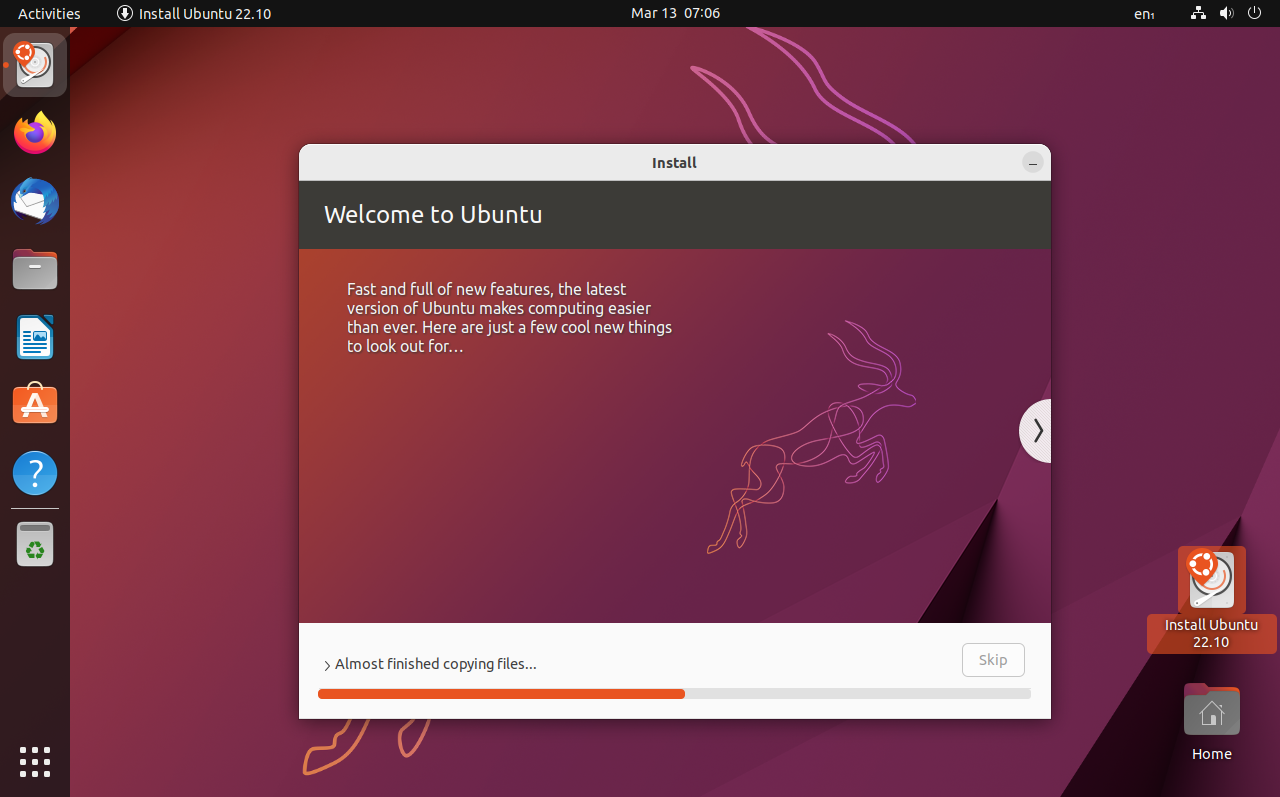
Click on the Install Ubuntu 22.10 icon on the desktop to start the installer.
-
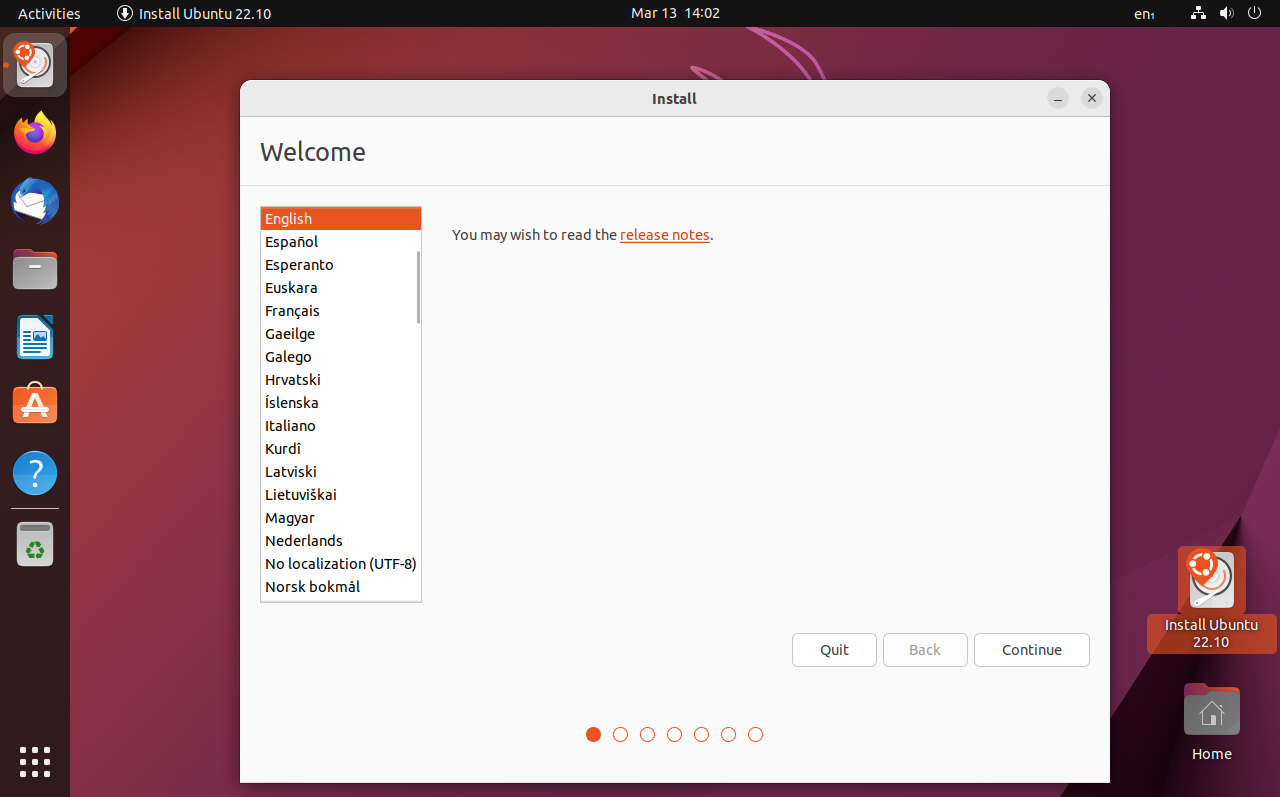
Select your language.
-
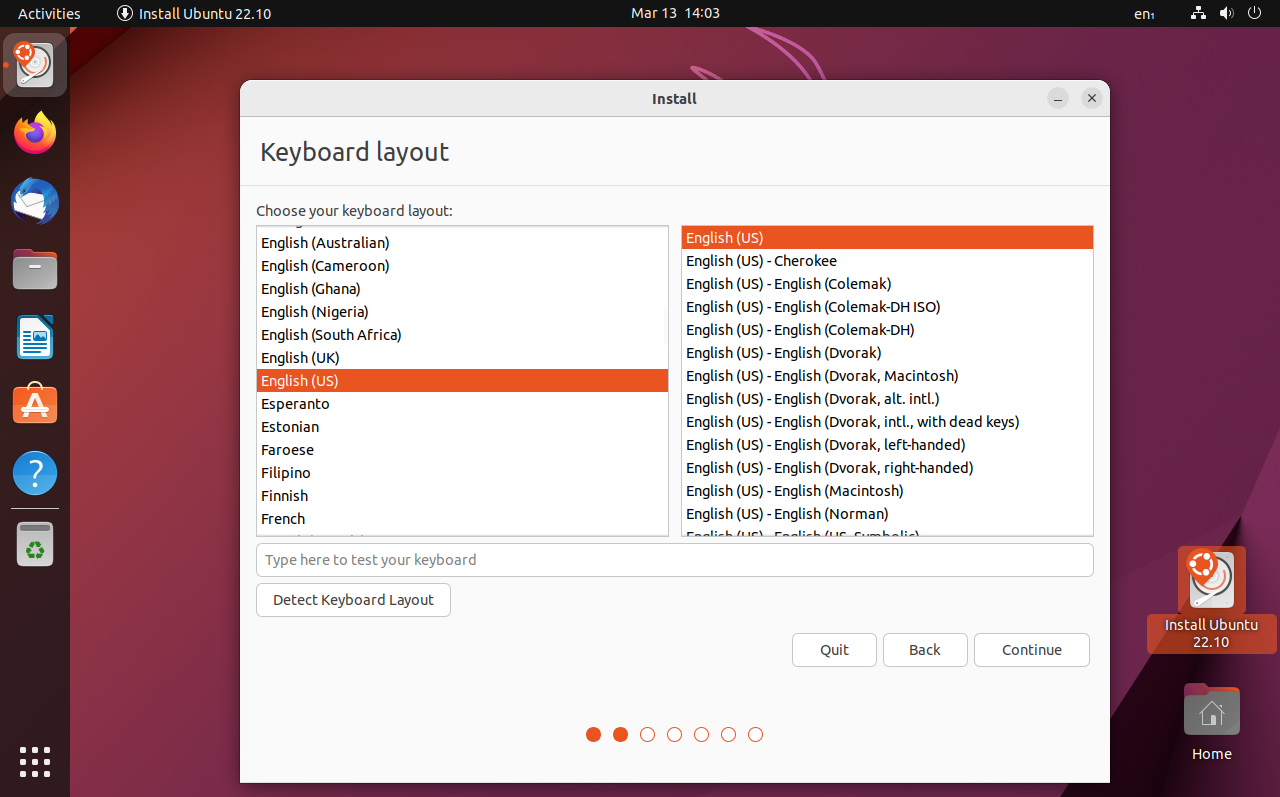
Select your keyboard. The default is fine.
-
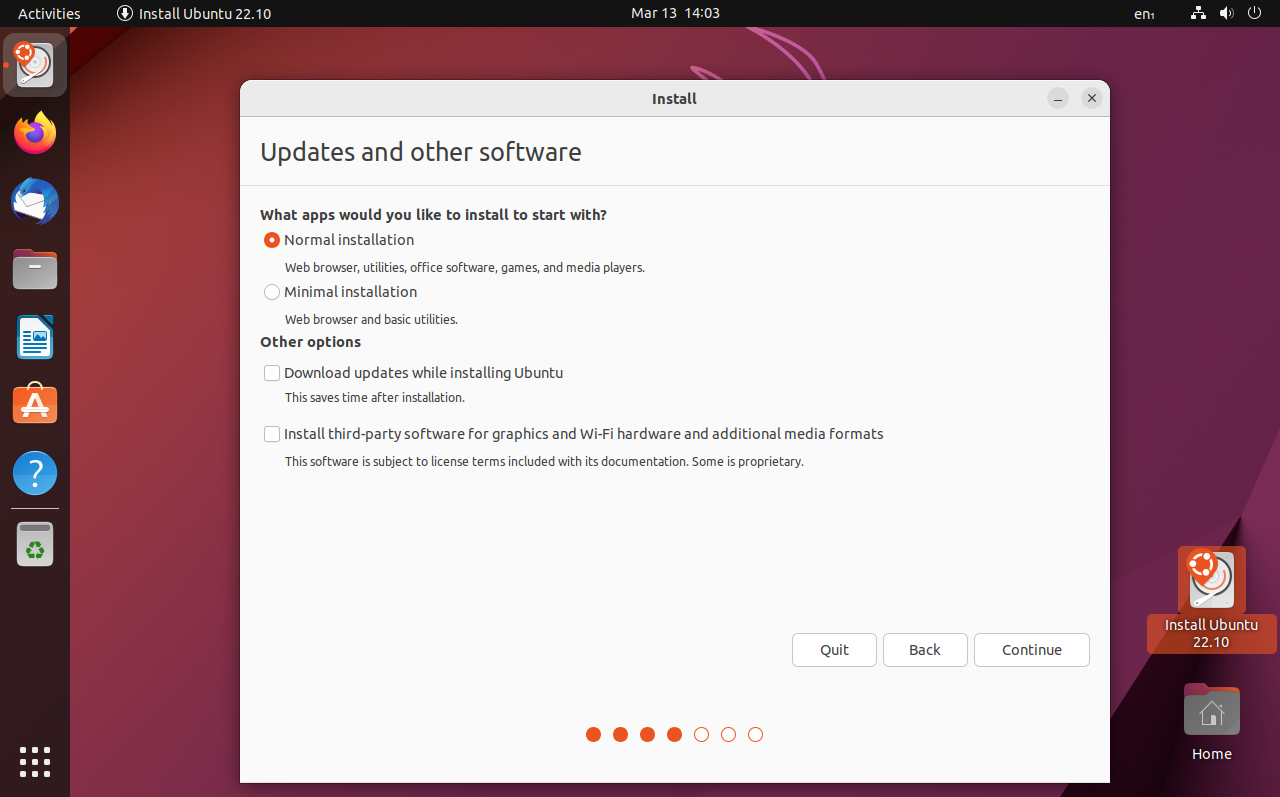
Uncheck Download updates while installing Ubuntu.
-
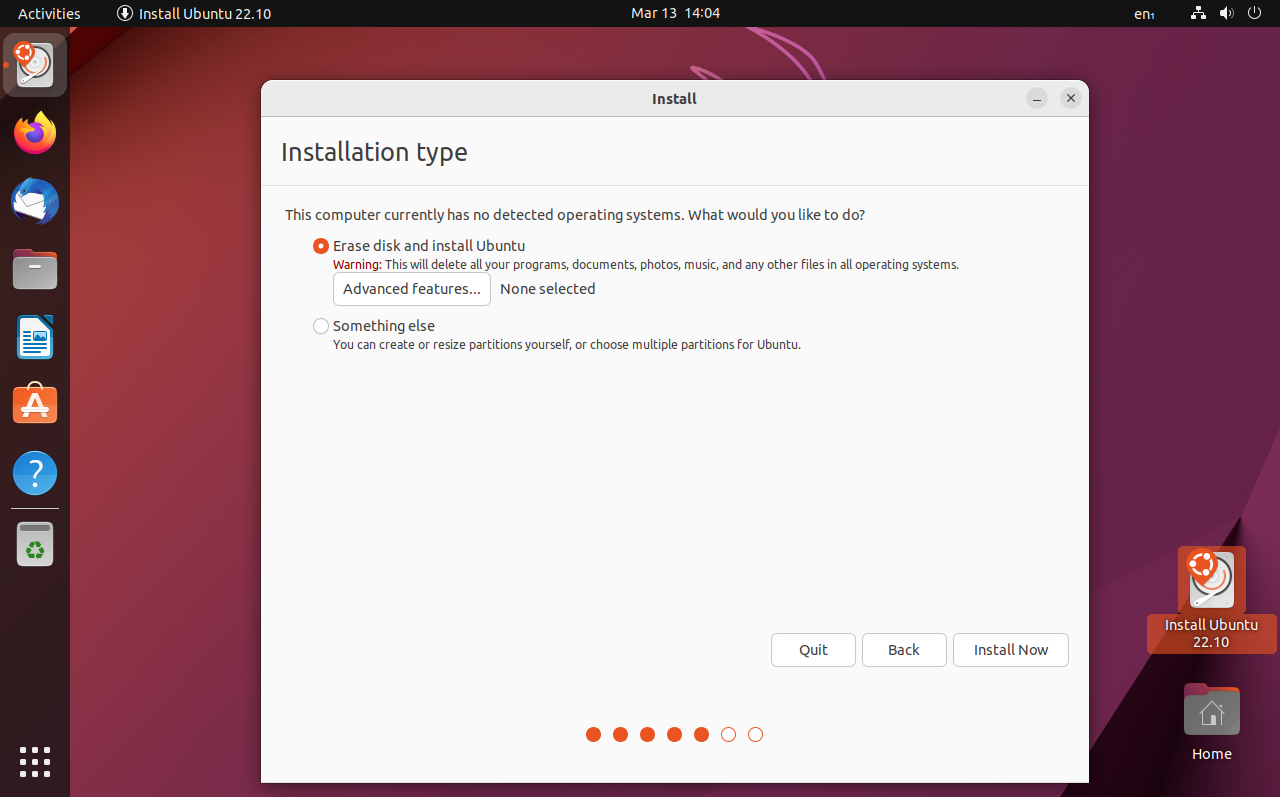
Select Erase disk and install Ubuntu.
-
Click the Continue button to write the changes to your hard disk. This is your last chance before your hard drive on your computer is wiped of its data.

-
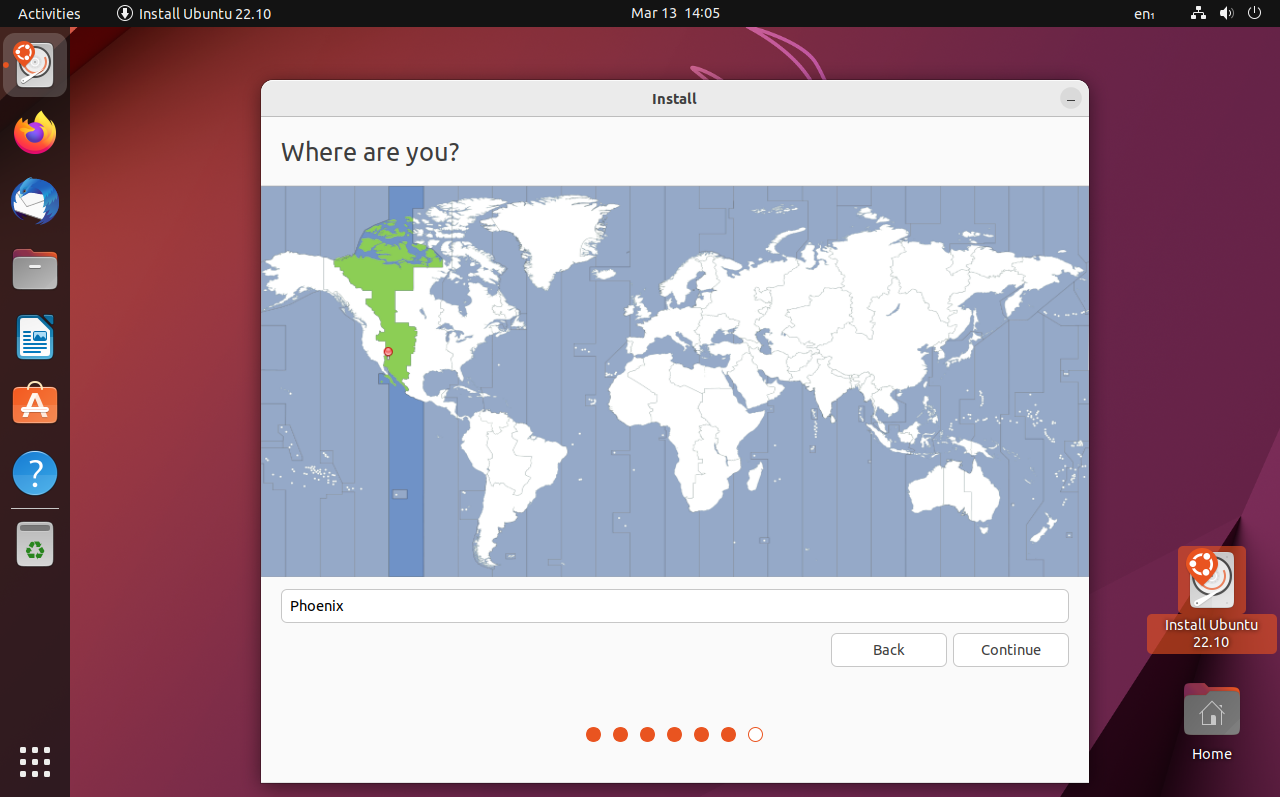
Select your timezone.
-
Enter your name, a computer name, a username, and a password. The default setting for EmComm Tools is to set all fields to:
ham.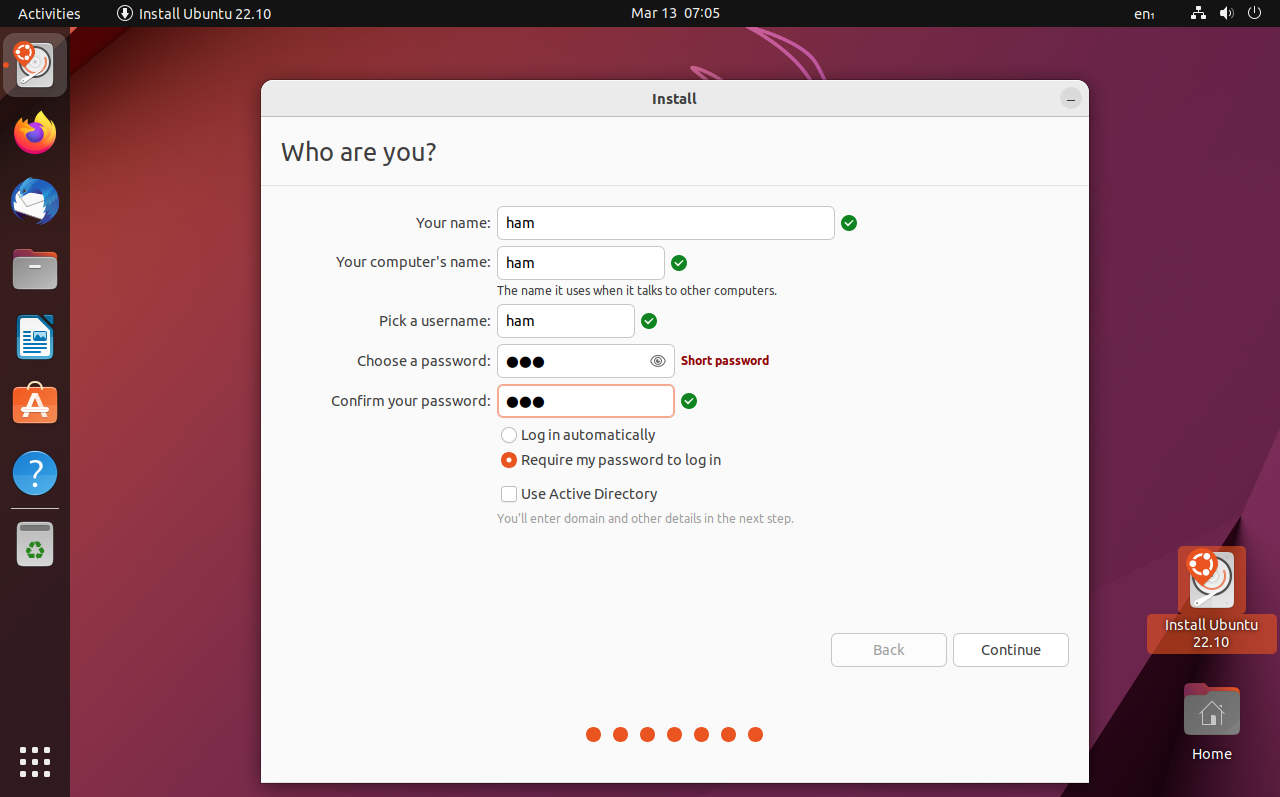
-
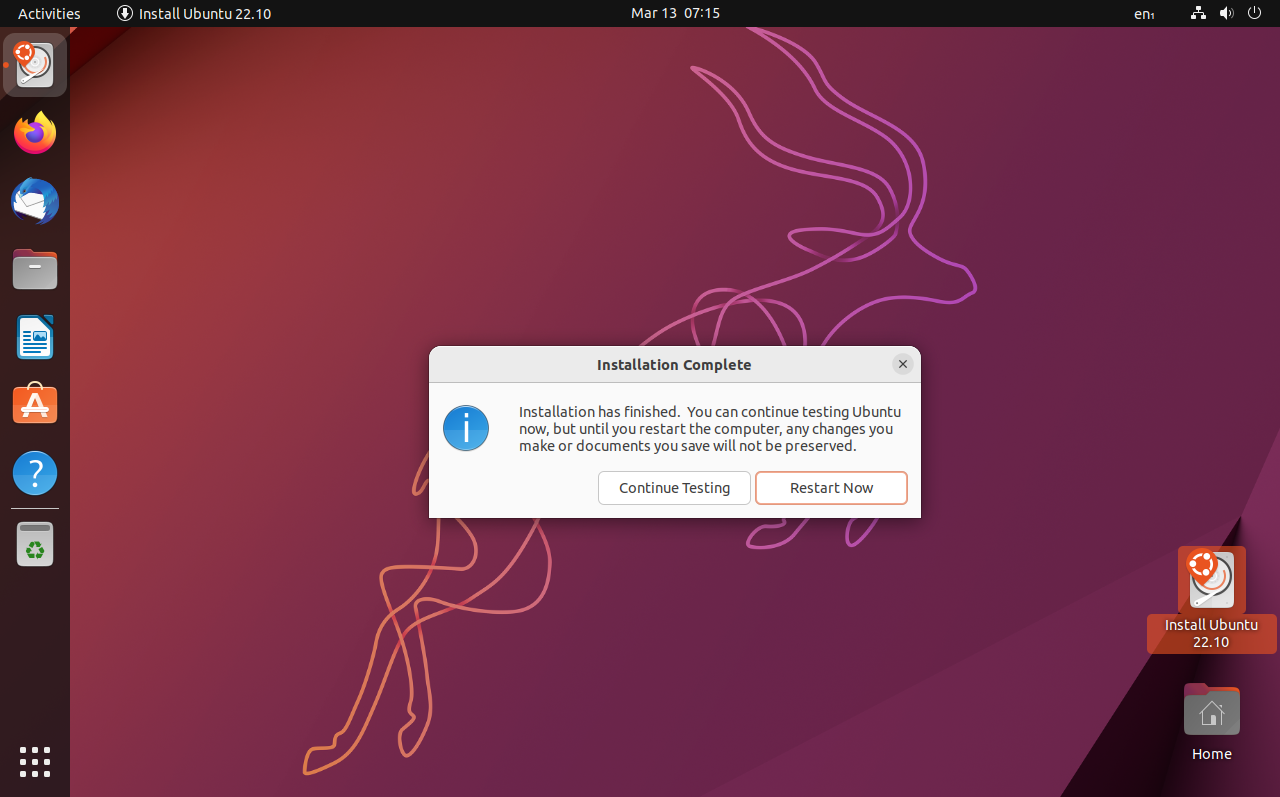
Depending on the make and model of your computer, the installation may take upwards of 20 minutes.
-
Click the Restart Now button.
-
Remove the USB drive and press
[ENTER].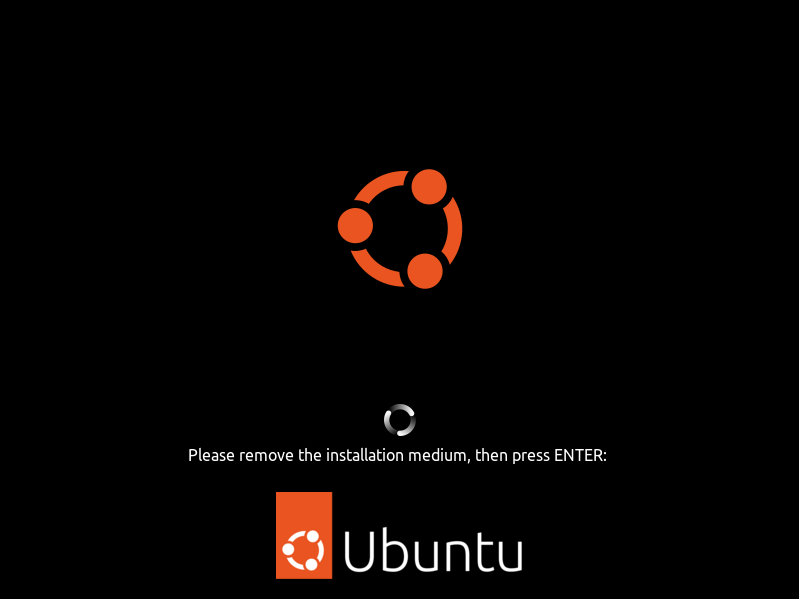 .
. -
When the system reboots, press
[ENTER]on the GRUB boot loader menu. -
Log into Ubuntu for the first time with
hamas the password.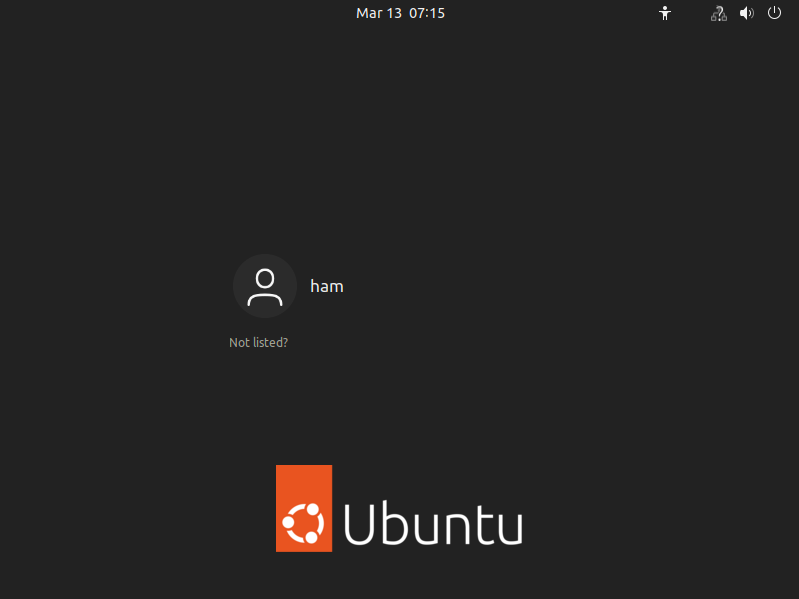
Member Content
- Companion Video: EmComm Tools Community: Episode 3 - Installing Ubuntu