Creating a Custom Ubuntu Build
Before starting this section, ensure that you have a fresh installation of Ubuntu 22.10 installed per the instructions from the last section or a previous installation of EmComm Tools Community.
Install Minimal Tools
In this section, we will connect to the Internet, update the software package repository, and install the tools needed to create an EmComm Tools OS Community ISO image.
-
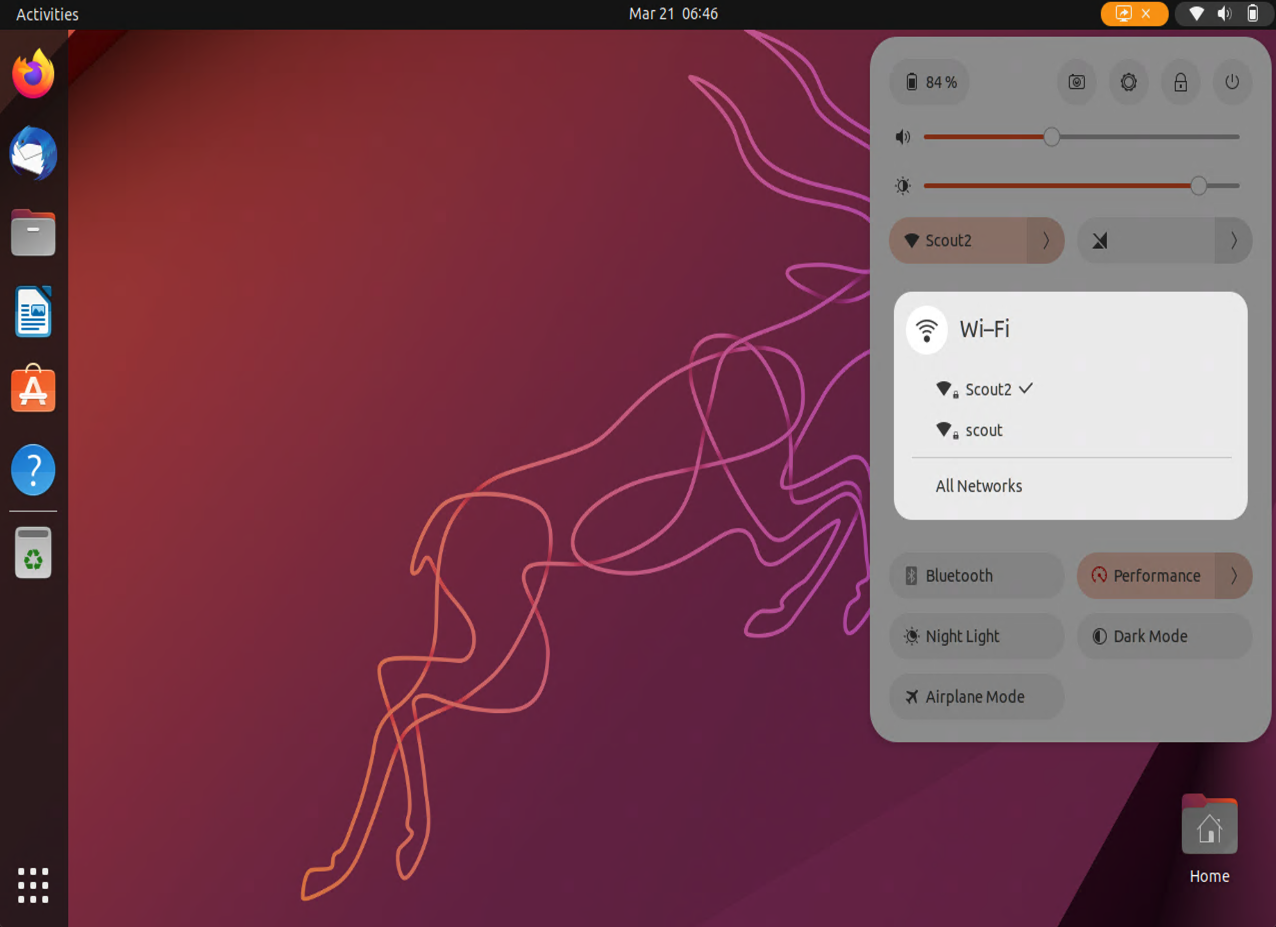
Click on the upper right panel of the screen and connect to your wi-fi network.

-
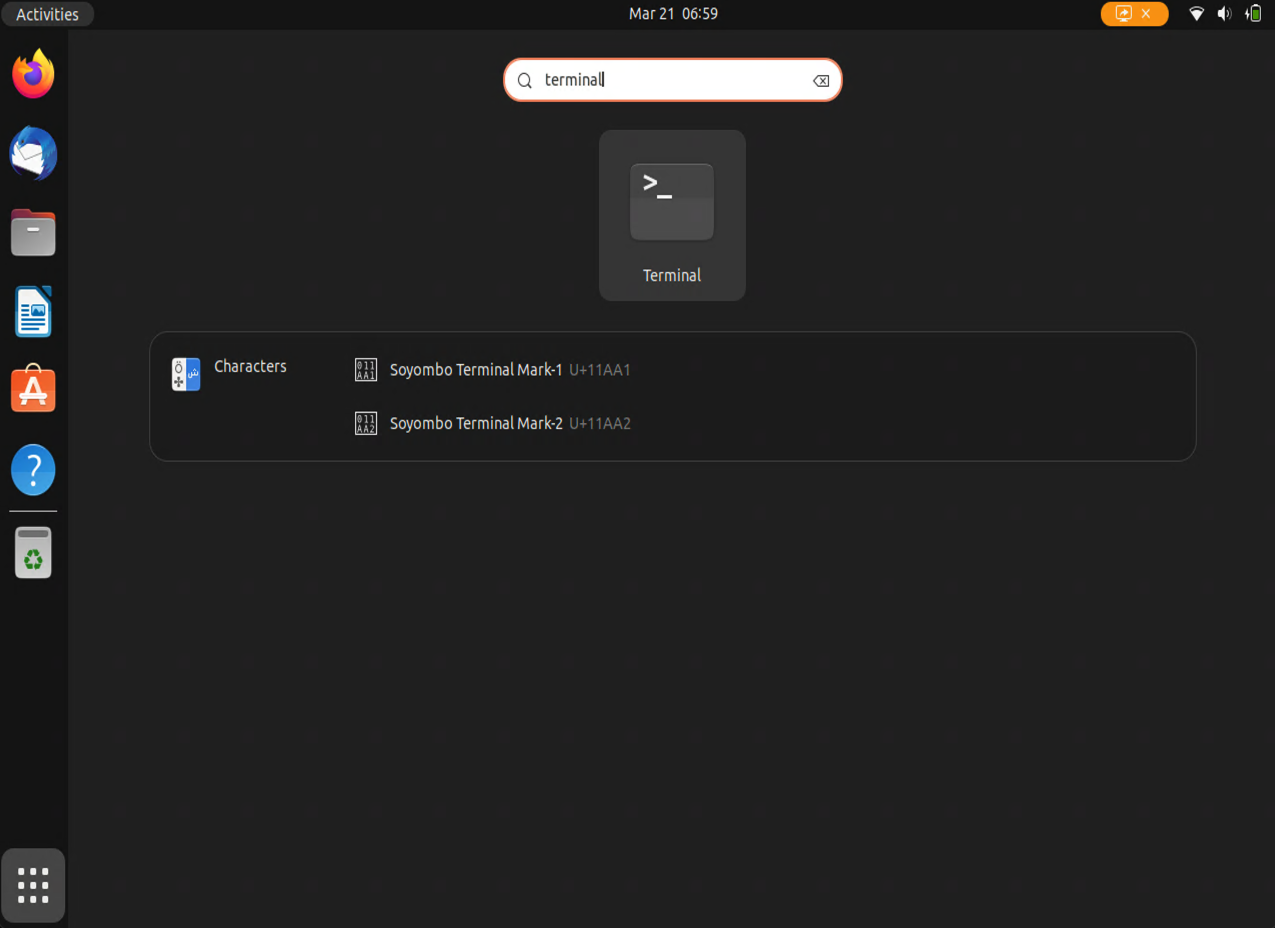
Click on the menu icon in the bottom left of the screen and search for
terminal. Then, click on the terminal icon.
-
Download the EmComm Tools Community installer by running the following command in the terminal:
wget https://github.com/thetechprepper/emcomm-tools-os-community/releases/download/emcomm-tools-os-community-20241127/emcomm-tools-os-community-latest.tar.gz -
Unpack the installer.
tar -xzf emcomm-tools-os-community-latest.tar.gz -
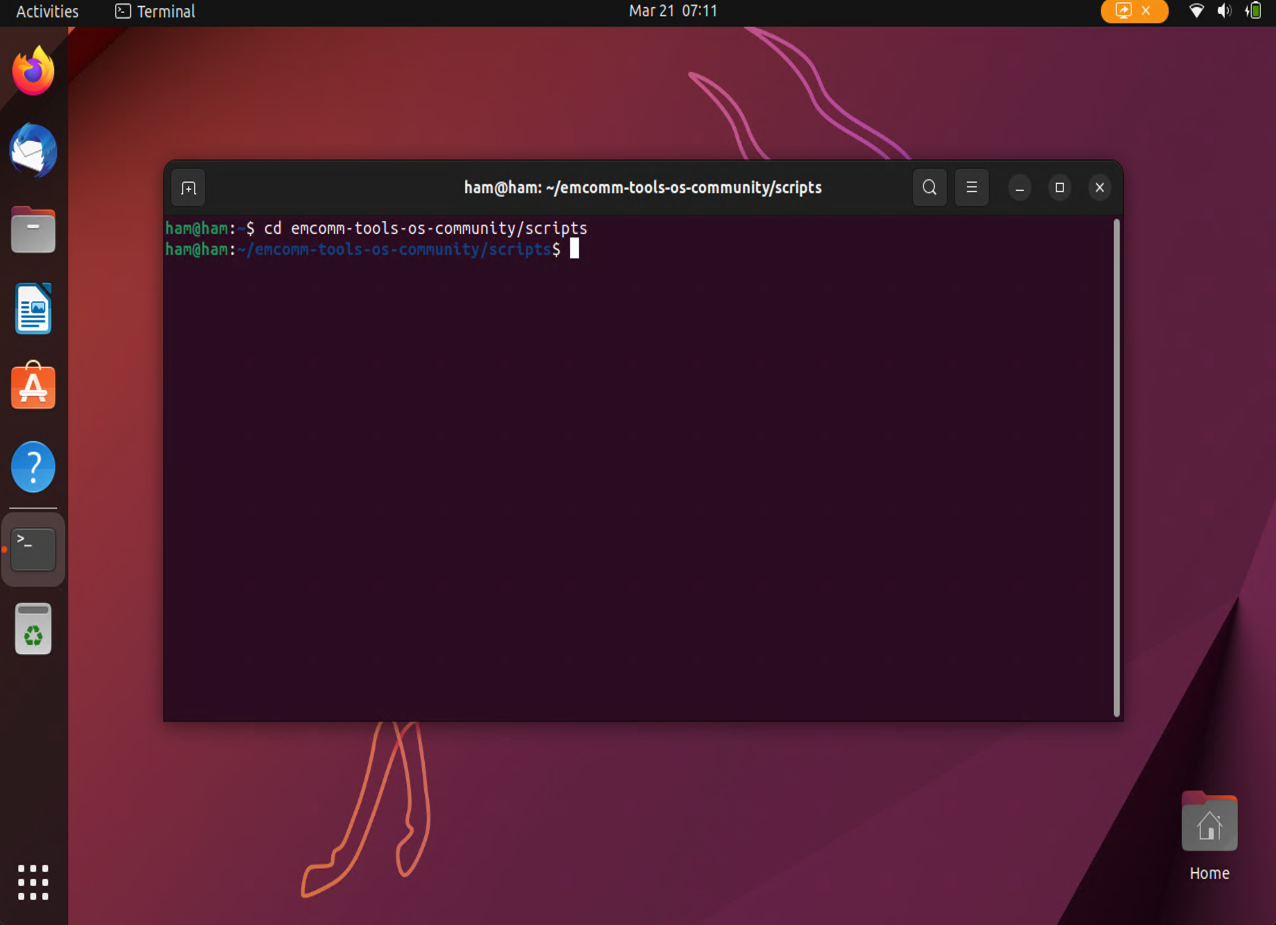
Change into the installer directory.
cd emcomm-tools-os-community/scripts
-
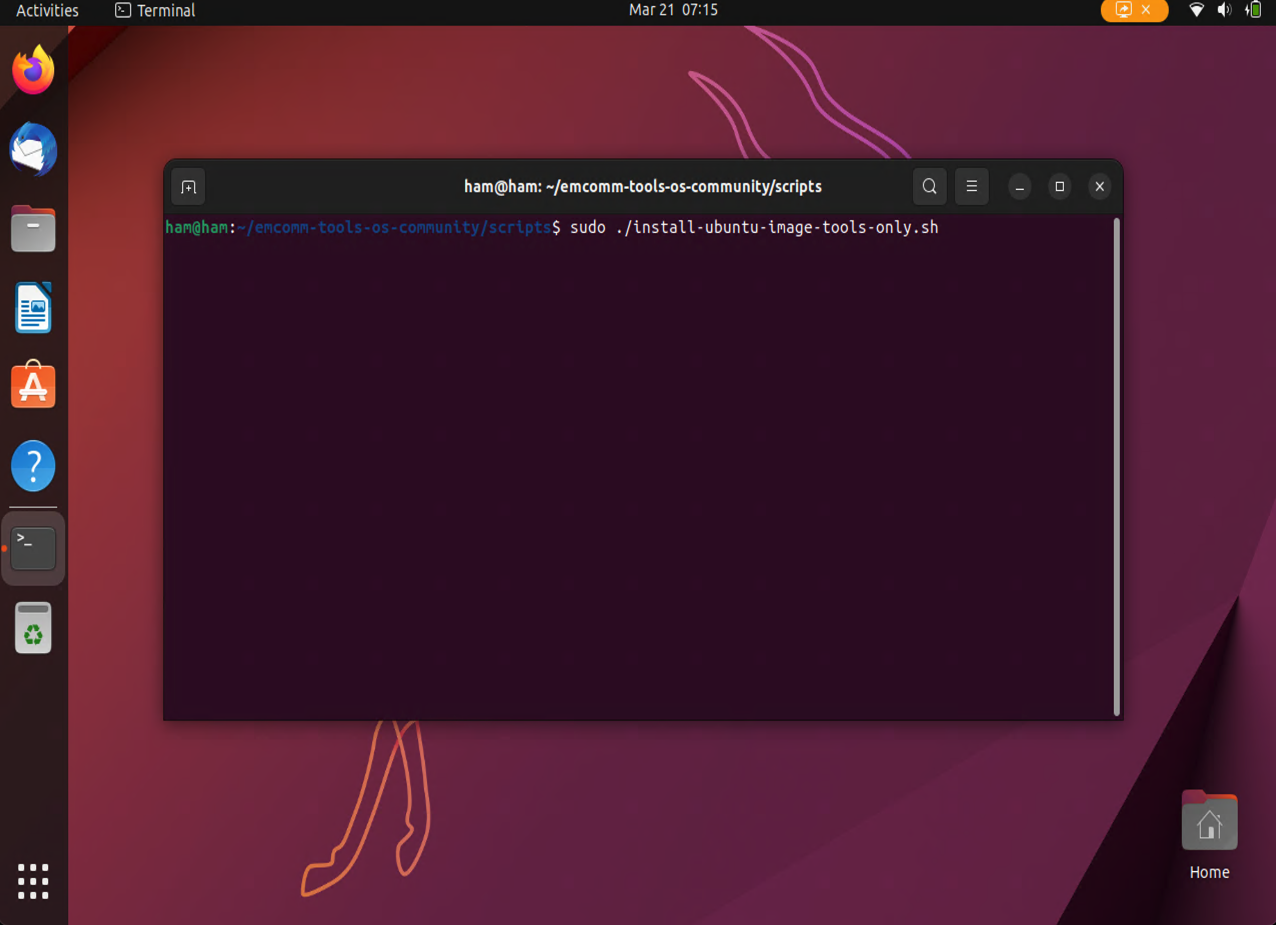
Run the
install-ubuntu-image-tools-only.shscript as the root user. Enter your password when prompted.sudo ./install-ubuntu-image-tools-only.sh