Creating EmComm Tools Community Image
In this section, we will use Cubic to create an ISO image of EmComm Tools Community. Once completed, this ISO image can be written to a USB thumb drive and installed on a computer.
To the build the image, your Linux machine must have a stable connection to the Internet.
Create a Custom Image with Cubic
-
Open a terminal and create a directory for the EmComm Tools Community project. Let’s name the directory:
emcomm-tools-os-community-20260401-r6-final.mkdir emcomm-tools-os-community-20260401-r6-final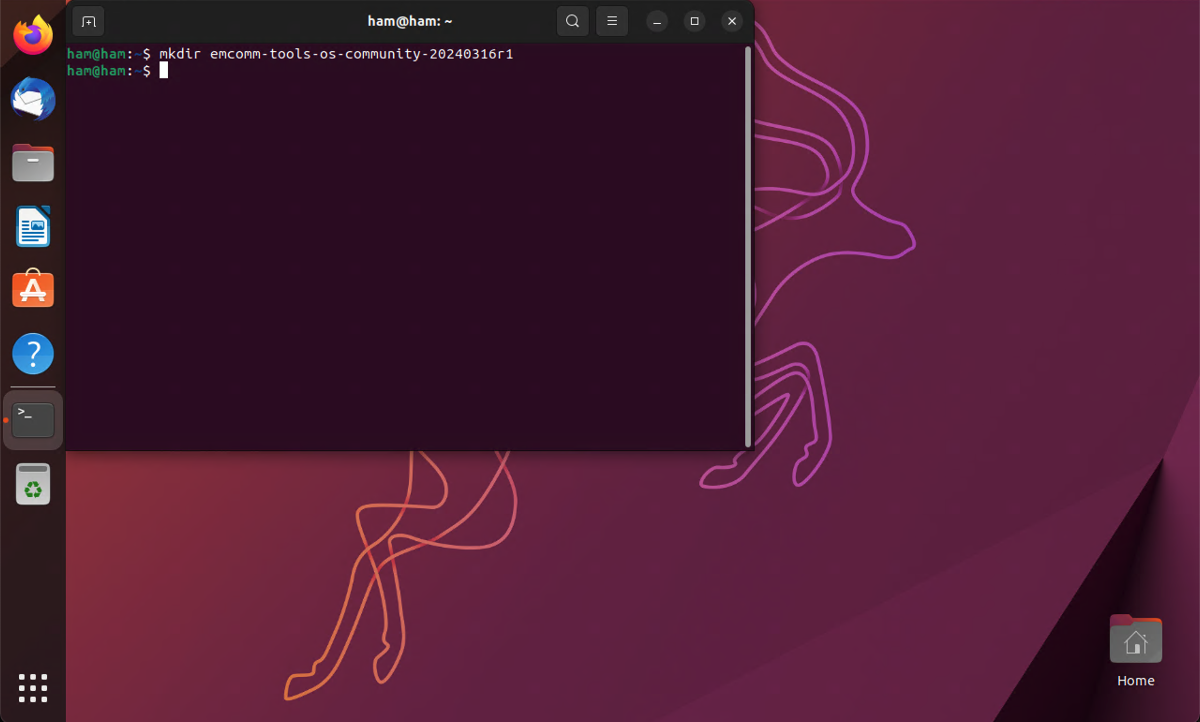
-
Click on the menu icon in the bottom left of the screen and search for
cubic. Then, click on the Cubic icon.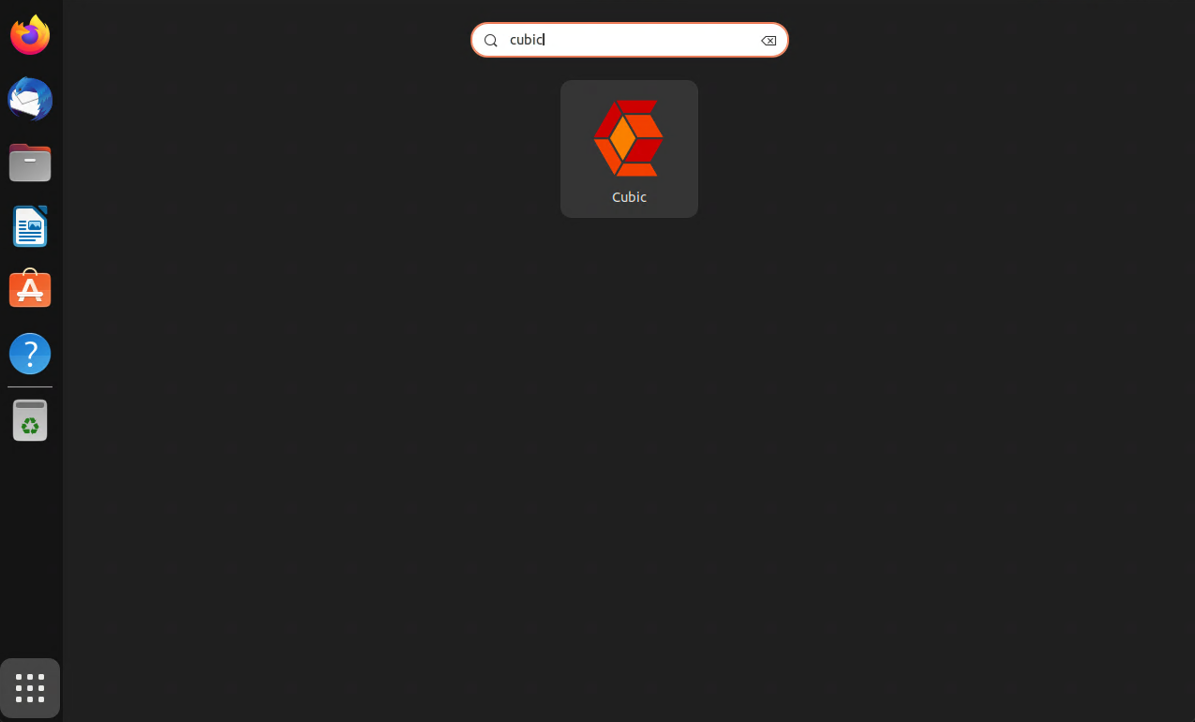
-
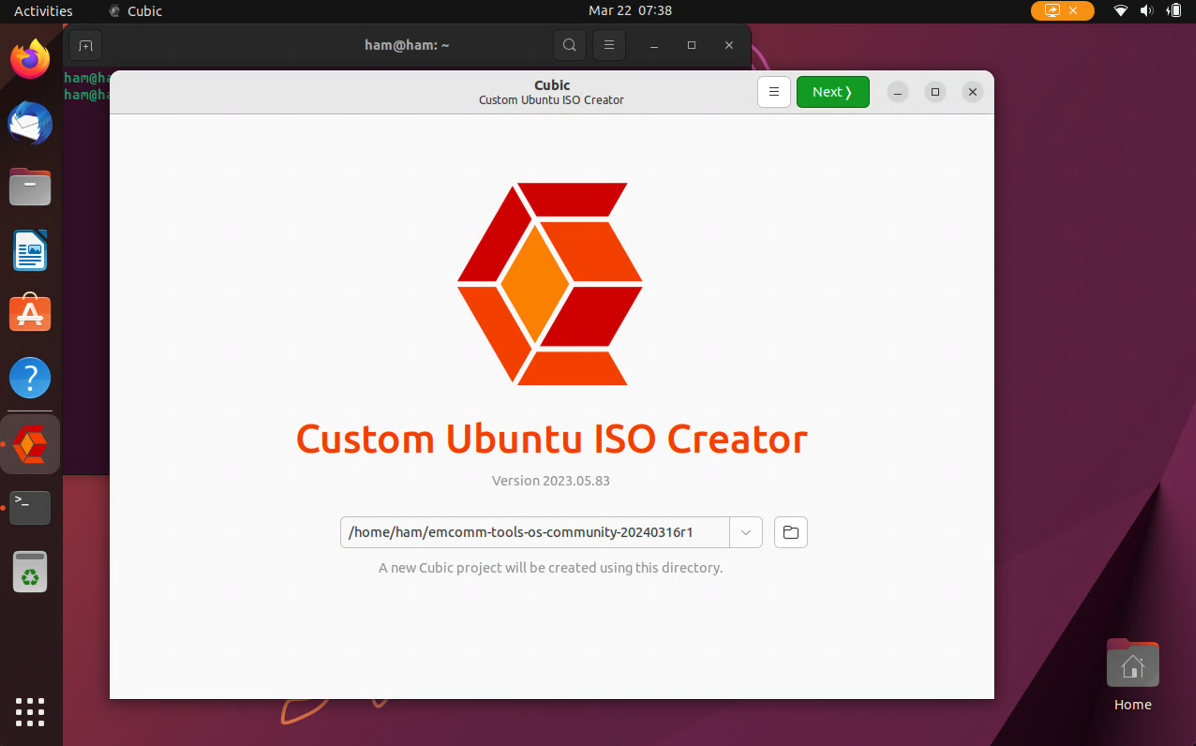
Click the folder icon and select the project directory that we just created. Then, click the Next button to continue.
-
Under the Select the original disk section, click the folder icon next to Filename. Then, navigate to the location where you downloaded the Ubuntu 22.10 ISO image(
ubuntu-22.10-desktop-amd64.iso).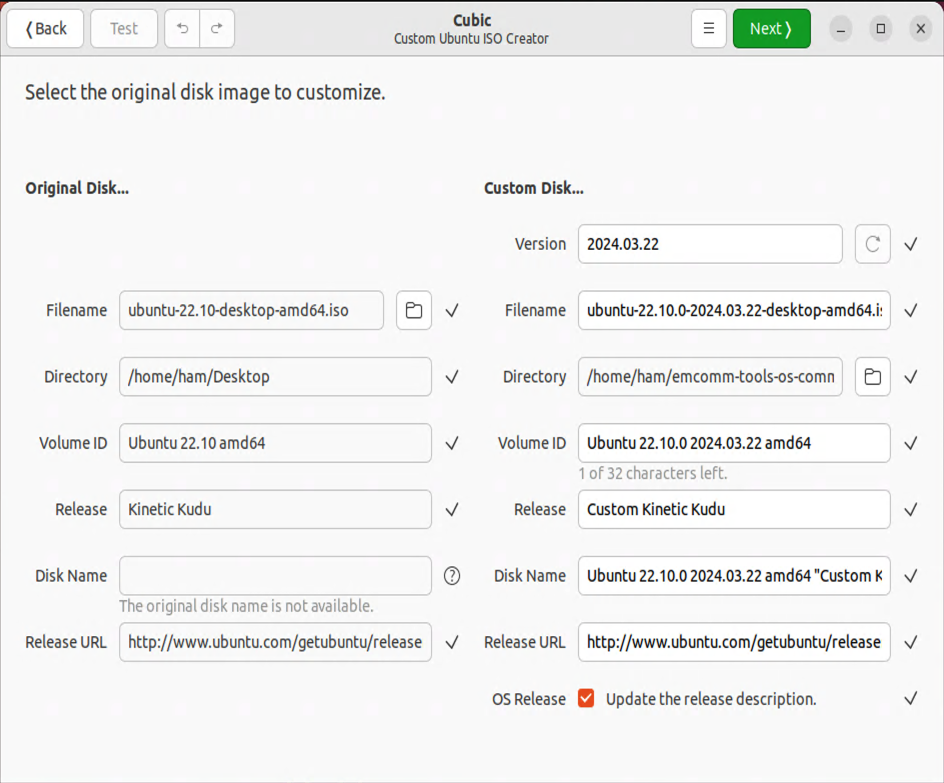
This step assumes that you already have
ubuntu-22.10-desktop-amd64.isodownloaded on this system. If you don’t have it, download it again from https://old-releases.ubuntu.com/releases/kinetic/ubuntu-22.10-desktop-amd64.iso. -
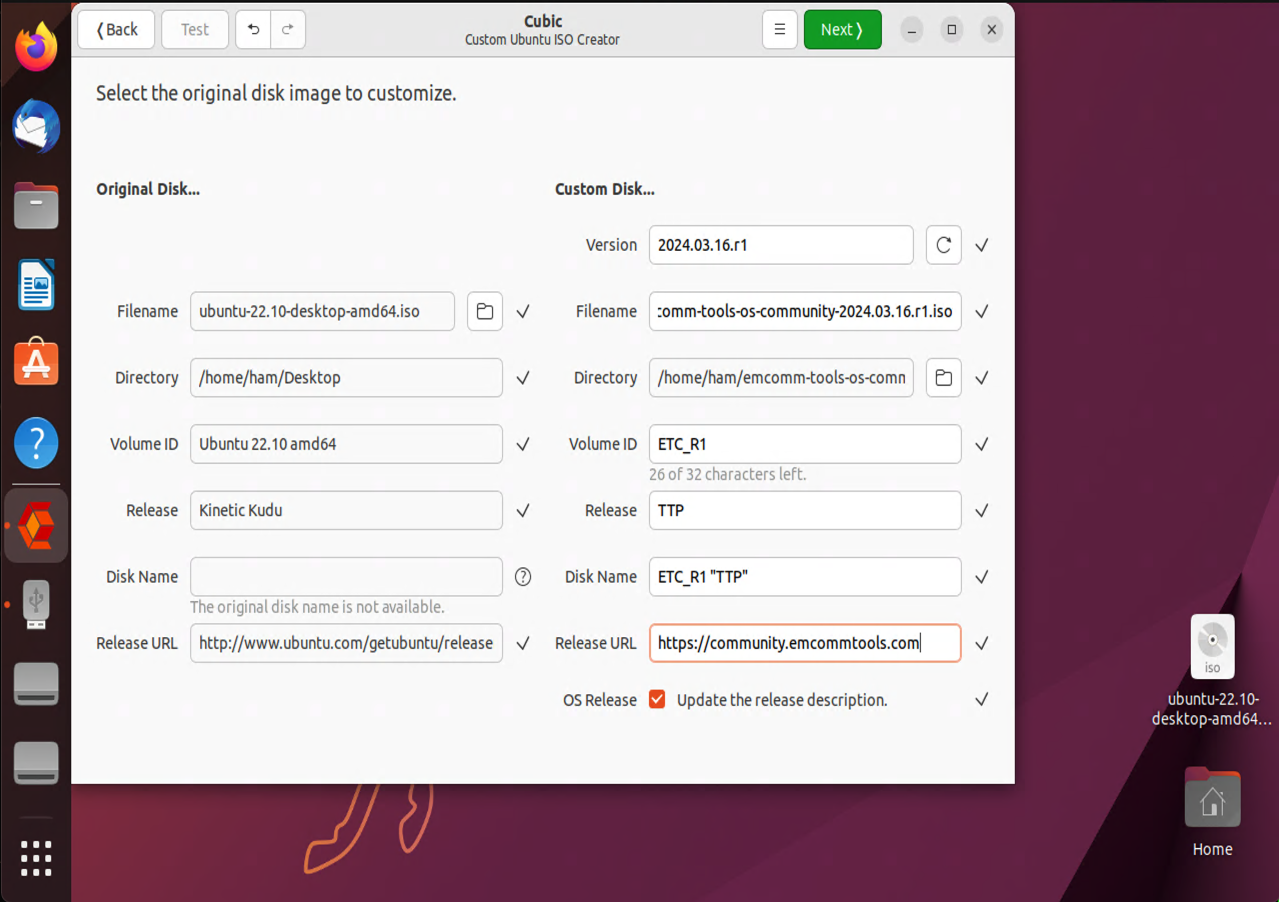
Under the Custom Disk… section, update the following fields with these values:
- Version:
2026.04.01.r6-final - Filename:
emcomm-tools-os-community-20260401-r6-final.iso - Volume ID:
ETC_R6_FINAL - Release:
TTP - Disk Name:
ETC_R6_FINAL "TTP" - Release URL:
https://community.emcommtools.com
- Version:
-
Click the Next button to continue. Wait for the Extracting the original disk… screen to complete. This will take a few minutes.
-
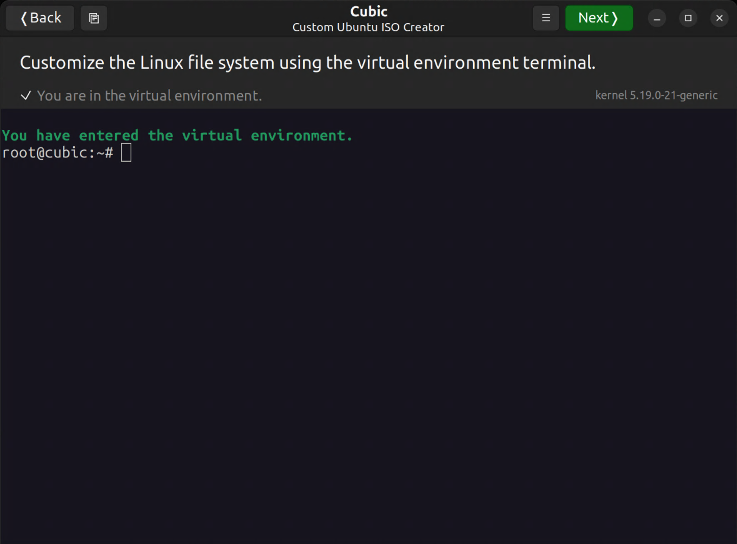
Now, you should be presented with a virtual terminal environment.
-
From the virtual terminal environment, download the EmComm Tools Community installer.
wget https://github.com/thetechprepper/emcomm-tools-os-community/archive/refs/tags/emcomm-tools-os-community-20260401-r6-final-6.0.0.tar.gz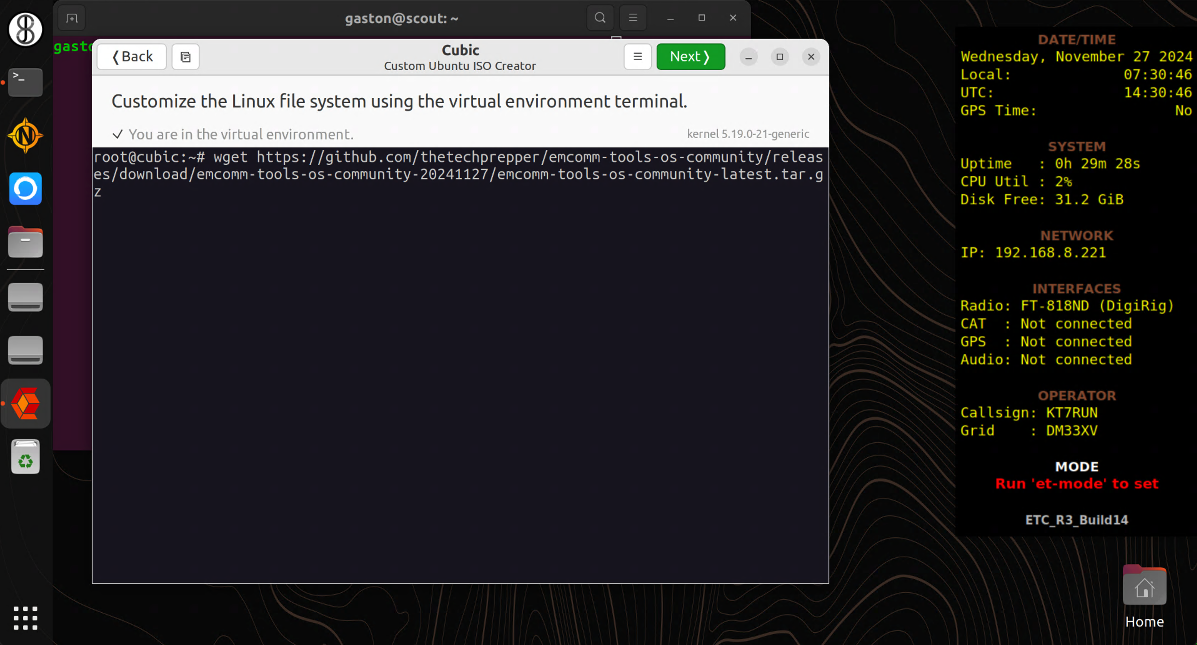
-
Run the following command to extract the installer.
tar -xzf emcomm-tools-os-community-20260401-r6-final-6.0.0.tar.gz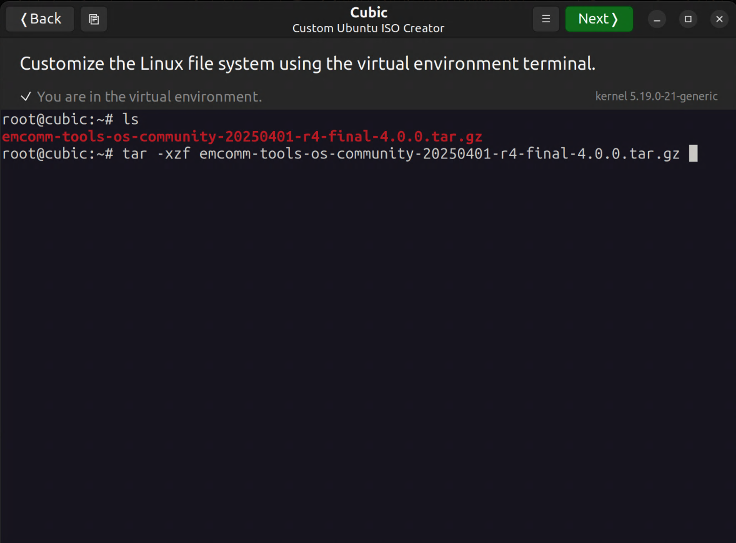
-
Change into the installer directory.
cd emcomm-tools-os-community-emcomm-tools-os-community-20260401-r6-final-6.0.0/scripts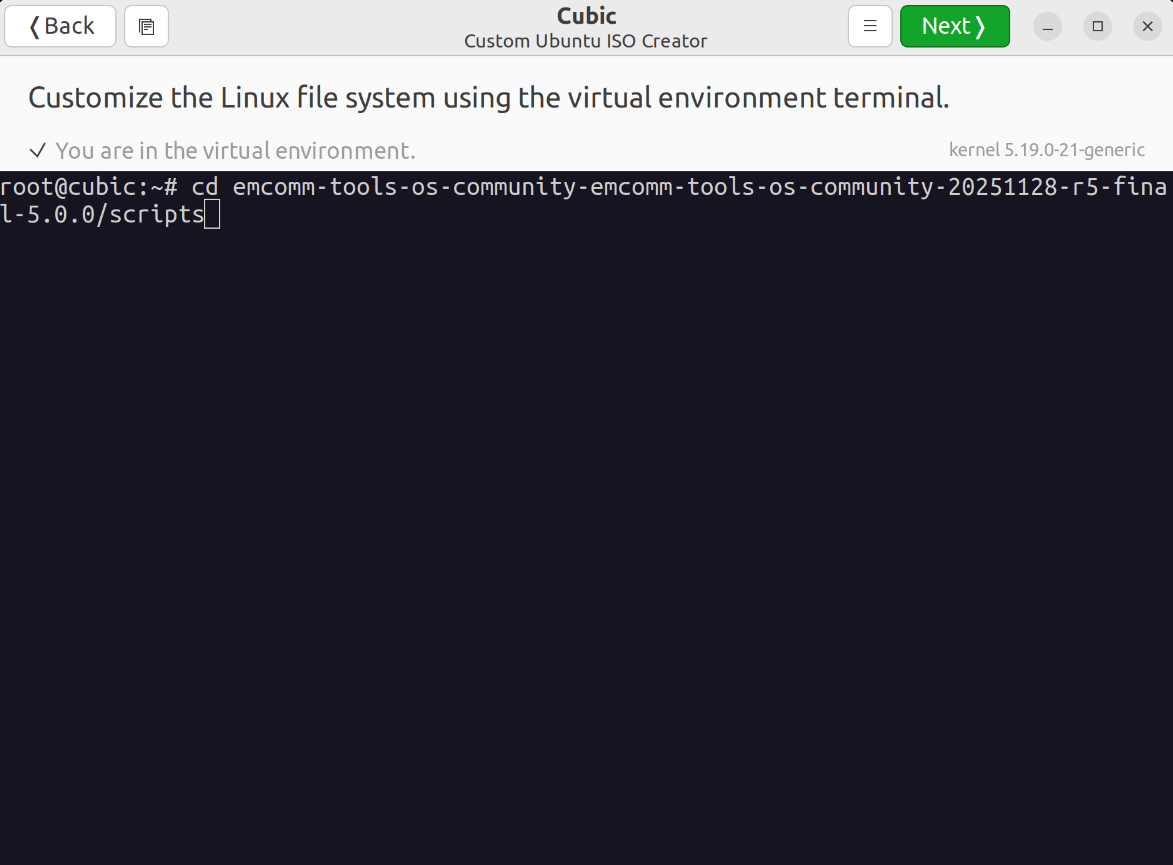
-
Patch the JS8Call install script.
wget -O install-js8call.sh https://raw.githubusercontent.com/thetechprepper/emcomm-tools-os-community/refs/heads/main/scripts/install-js8call.sh -
Run the installer. Depending on your system this could take an hour. This process requires a stable connection to the Internet to download many applications required by EmComm Tools Community.
./install.sh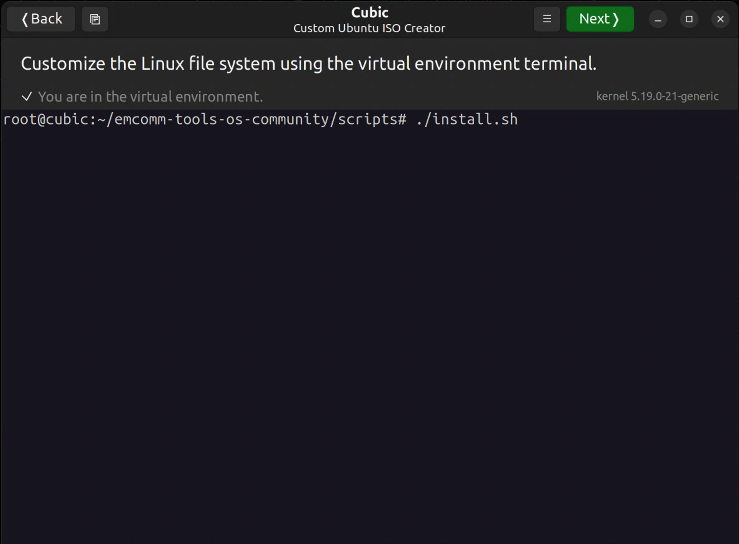
The installer was known to successfully download everything at the time of this writing (March 31, 2026). EmComm Tools Community can not control if and when software that it needs is removed from the Internet. It is suggested that you build your EmComm Tools Community ISO image as close to the date of this publication.
-
The last step is optional and allows you to select an offline map for your state (U.S. only). This map is used by the Navit program for offline mapping and navigation. It is also used by the APRS client (YAAC). Use the arrow keys and select the desired state. Then, press
[ENTER]. The download and map build will take about 10-20 minutes depending on the state and the speed of your computer. If you do not need an offline map, press the[ESC]button.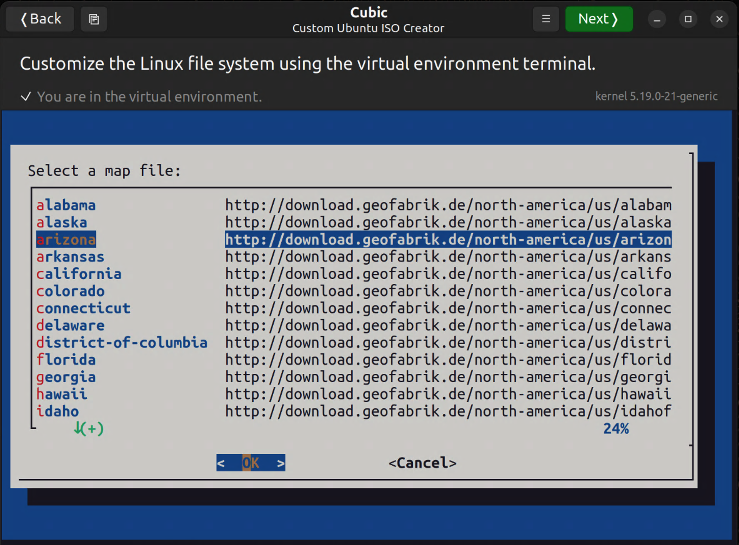
Only download one state-level map file. Some of the mapping applications can only handle one OSM map file at a time. If you need a larger map for offline navigation with Navit, do not download any state-level maps. Instead, visit Navit - Planet Extractor, create a map, and copy the map to
/etc/skel/.navit/map/. The virtual environment terminal allows you to copy files to it. Use the copy icon located in the upper-left corner (it’s next to the Back button) to copy files. -
You will be presented with another screen to “Select a country”. This is for a custom offline map that is used by the
et-aircraftandet-predictapplications. If your country is available, select it, otherwise select the Global Map. The U.S. and Canadian maps also include the Global Map. In the next major release of EmComm Tools Community, other regions will be supported.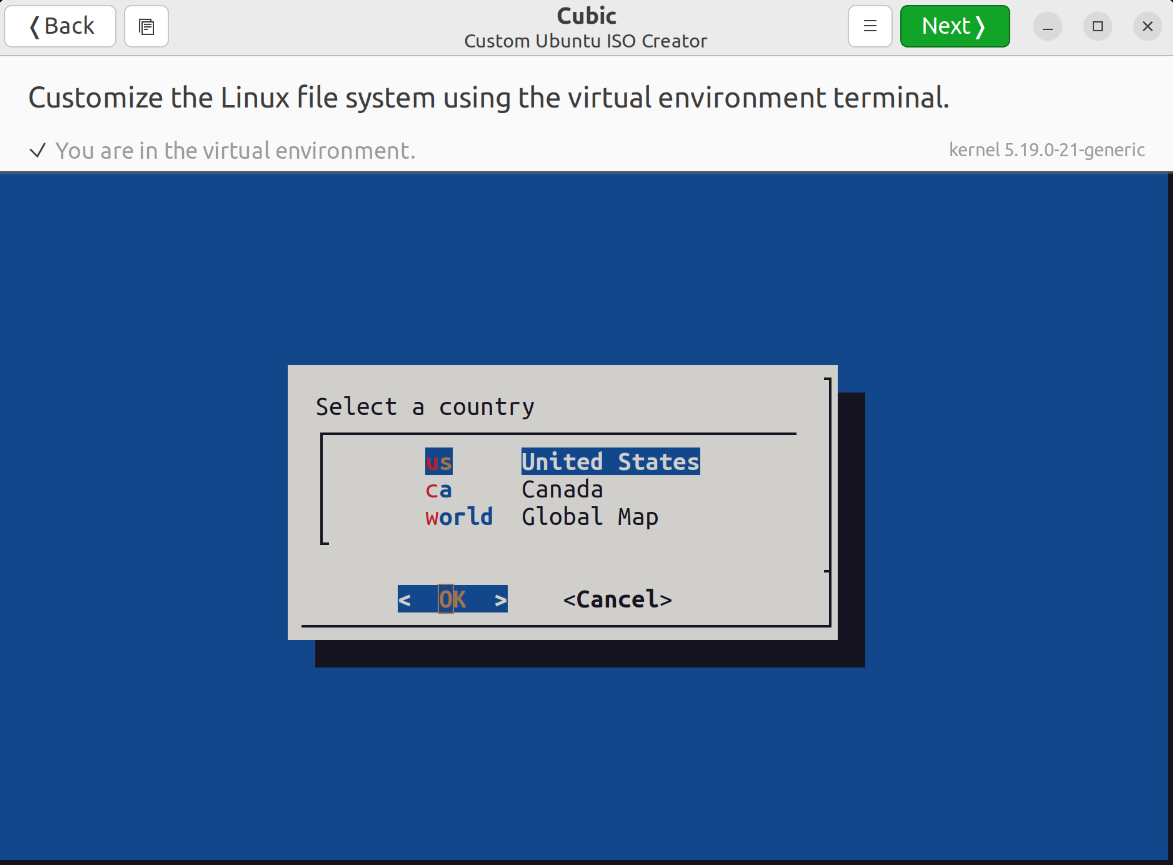
-
Before leaving the virtual terminal environment, it is suggested that you run the post-install validation script. Some of the installation scripts have been known to fail due to third-party sites being down during the installation.
Change into the
testsdirectory.cd ../testsRun the test suite.
./run-test-suite.sh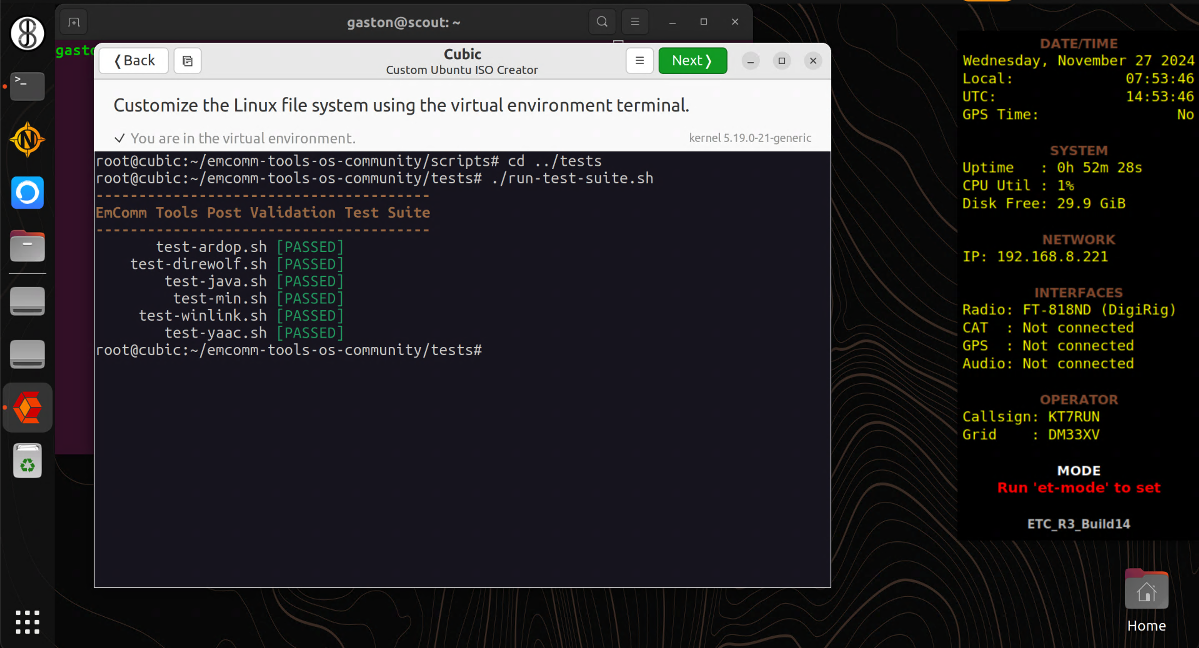
-
Click the Next button to continue.
-
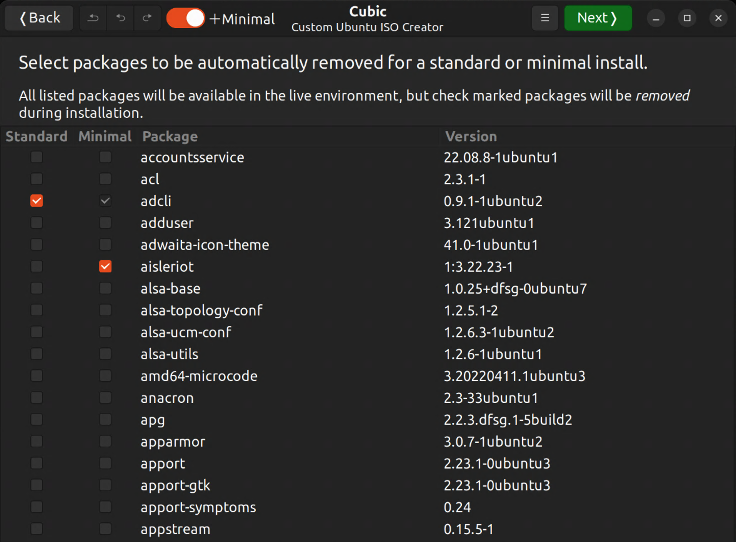
The Preparing Options… screen will run for a few minutes, then it will switch to a screen that reads, “Select packages to be automatically removed for a standard or minimal install.” Do not change anything here. Click the Next button to continue.
-
Do not make any changes on the “Select packages…” screen. Click the Next button to continue.
-
On the screen that displays the kernel version…

Optionally, click on the Boot tab at the top-middle of the window and change the boot menu entry from “Try or Install Ubuntu” to
"Try or Install ETC_R6_Final". Then, click the Next button to continue.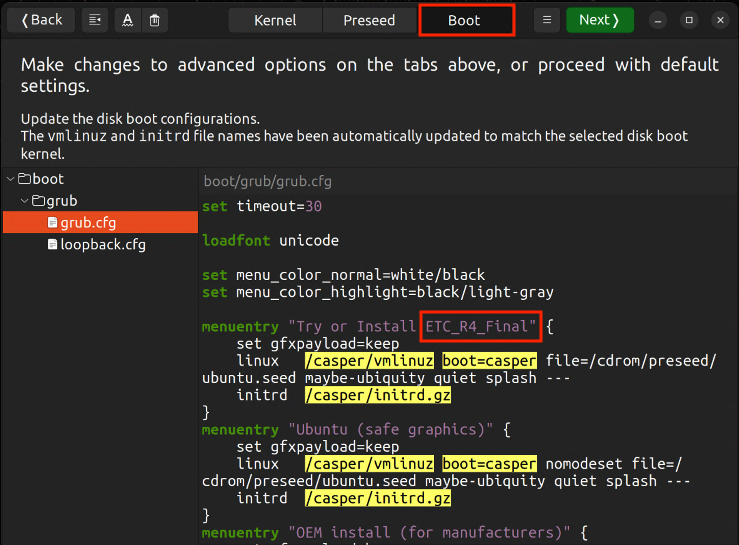
-
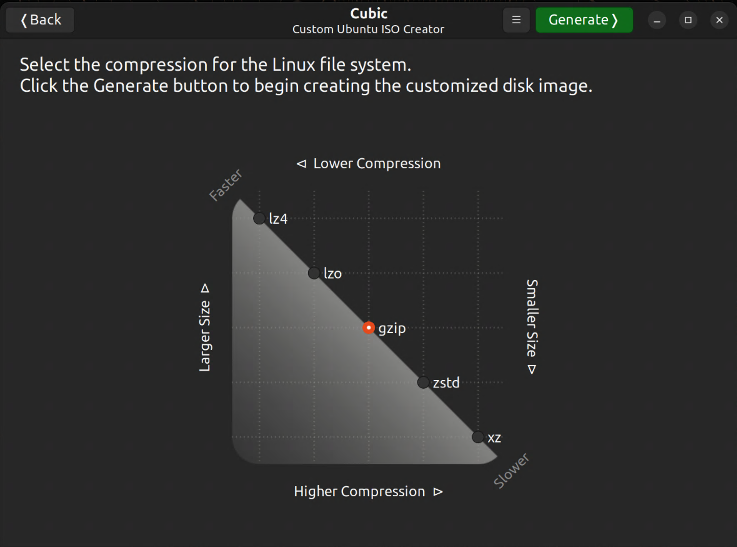
Click the Generate button on the compression options screen. This process will take 5 minutes to over an hour depending on your machine.
-
When Cubic completes, it will present a screen with the image details. Your first build of EmComm Tools Community will now be available in your home directory under:
/home/YOUR-HOME-DIRECTORY/emcomm-tools-os-community-20260401-r6-final. Click the Close button to finish the image build process.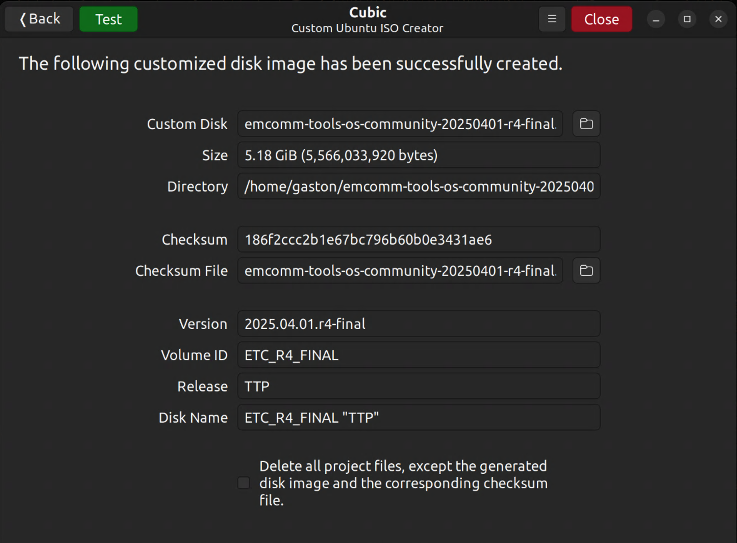
-
Use balenaEtcher or your preferred ISO flashing software to flash the EmComm Tools Community ISO (
~/emcomm-tools-os-community-20260401-r6-final/emcomm-tools-os-community-20260401-r6-final.iso) to a USB thumb drive.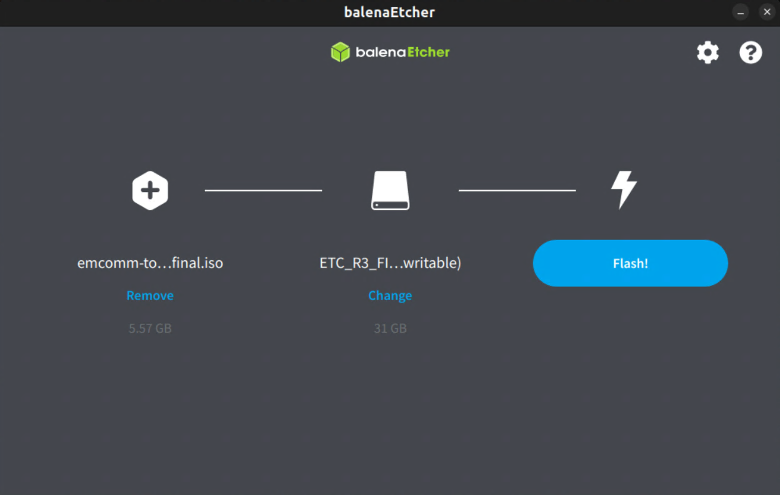
-
At this point, you can boot off the USB thumb drive and perform an installation of EmComm Tools Community. The process is identical to a standard Ubuntu installation.